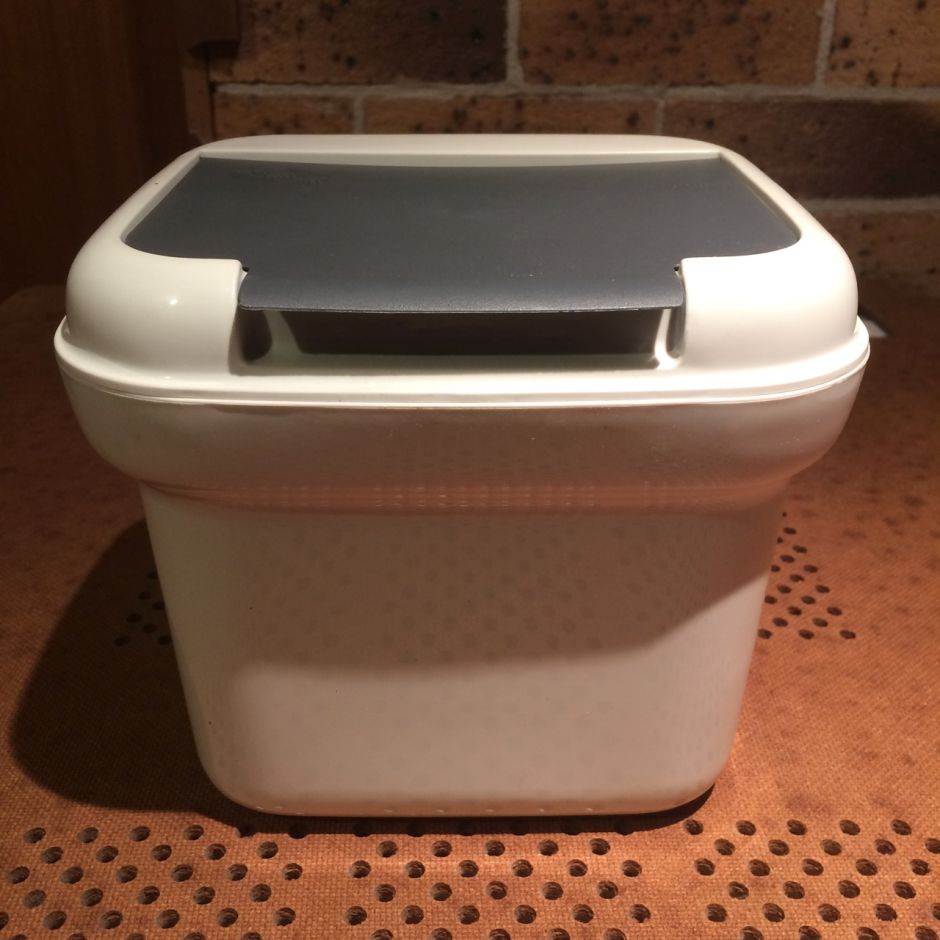
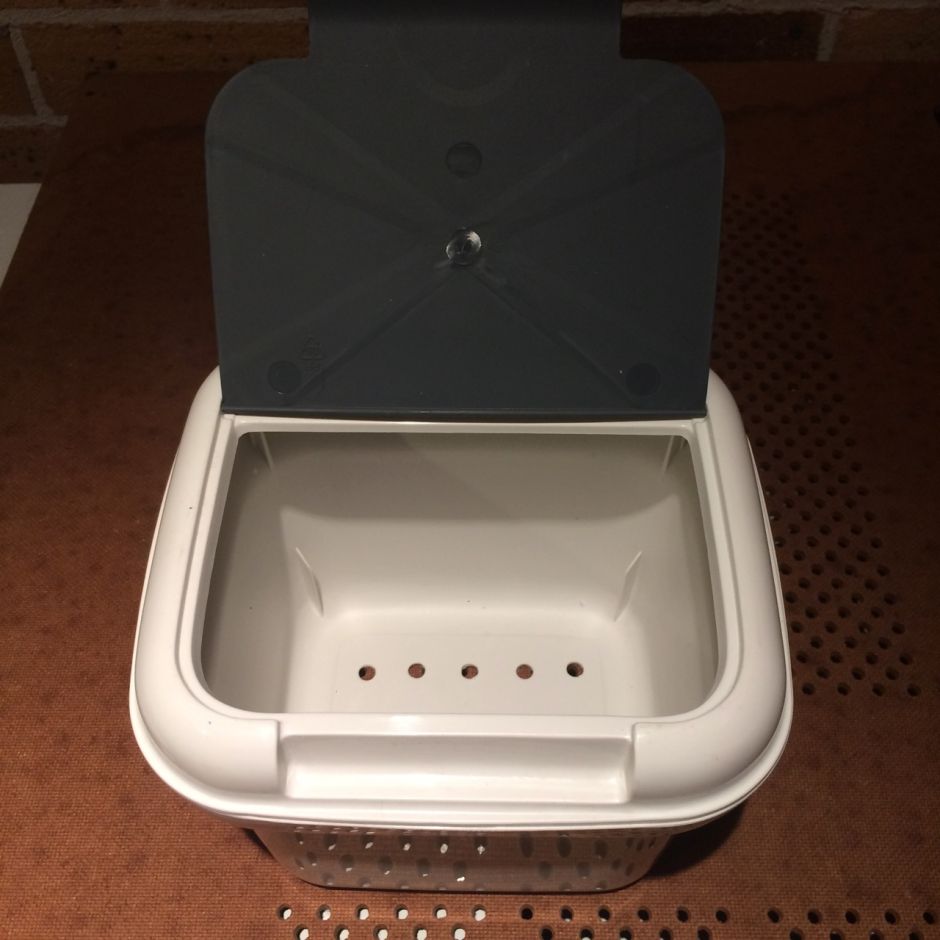
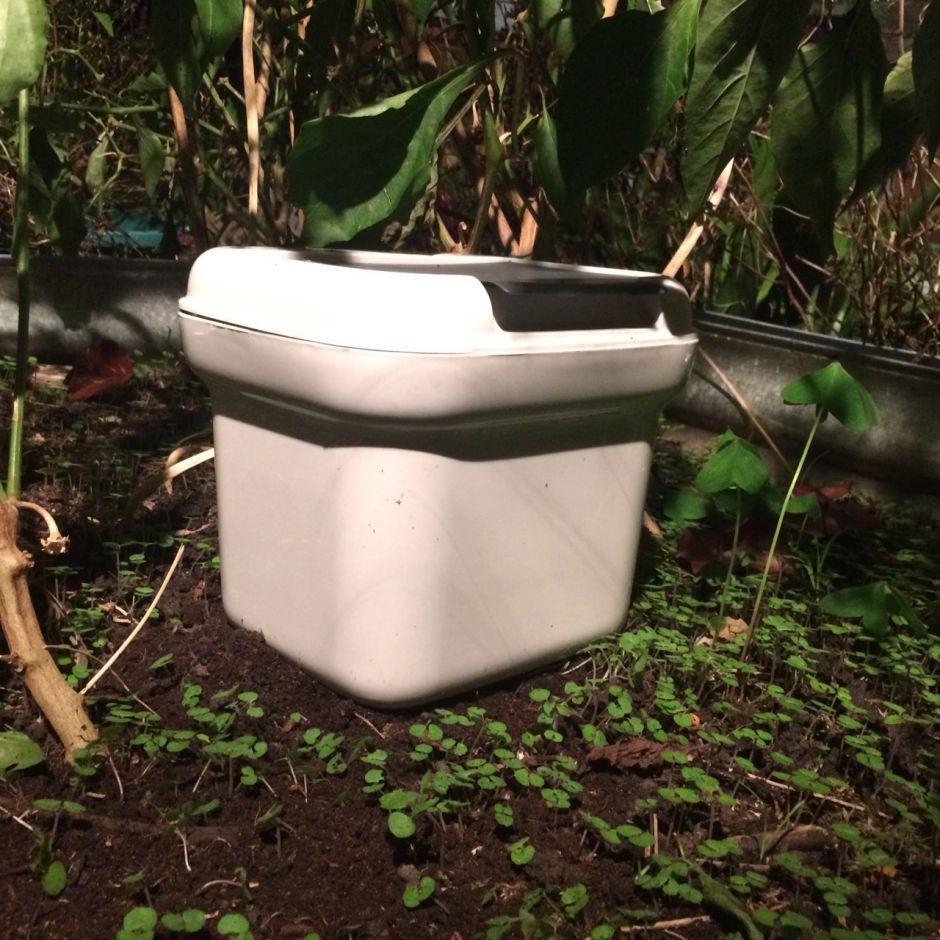
Big Rotter or on-ground worm farms
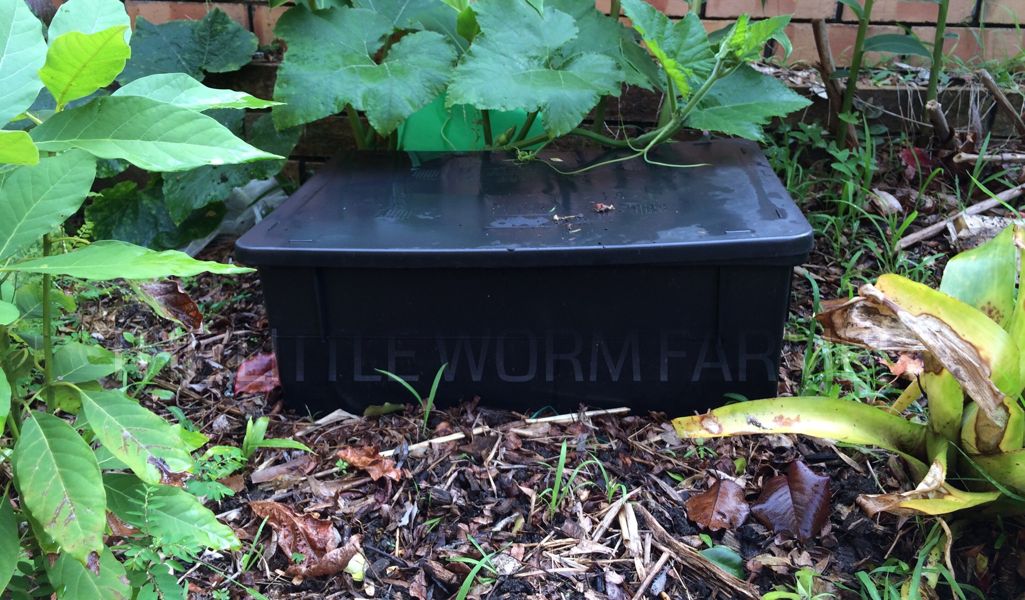 Big Rotter
Gargantua, my CFT worm farm, is running very well. Maintaining a larger farm is easier than smaller systems. However one little issue with a CFT is that you need to wait between 12 and 24 months for it to be full in order to safely start a regular harvest process. In the mean time I needed something that provides me a faster return so I can do some good to the garden. So I have been running two Worm Factories and one wooden horizontal migration bin. But for these I still need to wait four months for an ideal and safe compost.
Is there any other methods that could help while not taking too much effort on the maintenance? Searching the web, I stumbled on two candidates:
- the Big Rotter
- the Worm Tower
Both these products implement a similar idea: using your garden as a large worm farm where the bedding is the soil itself and the feeding area is the container. However, they are using two different methods which can seem similar if you don't pay too much attention but are totally different in terms of efficiency. I have chosen the Big Rotter style worm farms and I will be telling you how and why I believe this system is best.
First of all, let see the common points of the two products:
- Attract and feed local worms, including compost worms and deeper earthworms that will help amend your garden soil. In addition to the bin you will also need to help the process by adding a thick layer of mulch on top of the soil to keep the moisture.
- use the garden as bedding
- easy maintenance as you only need to feed and from time to time water down the bin to keep it moist
- if anything goes wrong with the food: too wet, too dry, too hot, too acid etc... no problem, the worms will leave the bin back into the soil an wait until the food has composted enough and becomes friendly
- no harvesting needed, the worms will travel in the bin to feed, out the bin to breed and poop and in the process spread the nutrient into the garden
- The Little Rotter can serve 10 sqm (107 sqft) of the garden, I think this is from the worm ability to migrate horiontally not the bin, so this should be also valid for the Worm Tower.
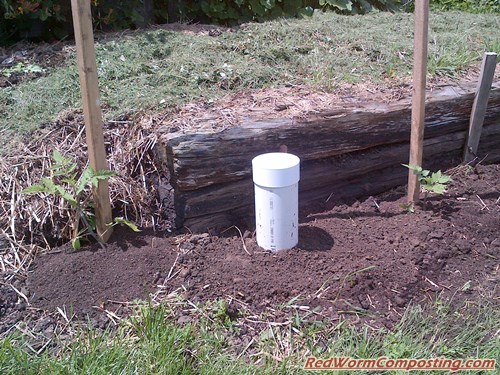 Worm Tower. Photograph courtesy of Red Worm Composting
Issues with the two products:
- the Worm Tower does not offer a lot of surface area
- the Big Rotter is bulkier and does not look as sexy compared to very nicely designed Worm Towers
Why I chose the Big Rotter over the Worm Tower? Even though the Worm Tower can be made to be bigger and can be well dissimulated in the garden as only a small part of it emerge from the ground, I wasn't too concerned about the look and was not ready to dig a big hole for a large version. However, the Big Rotter was offering a very convincing point: efficiency. Being installed on top of the ground instead of in-ground, it is much more efficient and offers some advantages such as:
- no digging
- can be moved around
- can be used as a trap for gathering native worms, then you use the tray itself as a regular worm bin or just dump it in another system
Additionally the Big Rotter emulates what works in nature instead of trying to change/improve Nature (if Nature needed improvements she would have done it already). In nature, worm food (fall leaves, animal droppings...) sits on top of the ground, the worms would get out of the soil and go in the organic matter to feed. On a large scale, a compost pile of animal manure or garden scraps would work efficiently as intended, on a smaller scale a container with holes in the base and sufficient surface area can be installed on top of the ground, it needs a lid to prevent light to get in and keep the moisture inside.
George Mingin, owner of Kookaburra Worm Farms, the biggest worm farms in Australia and one of the biggest in the world (he had seen and done it all), describes the theory behind his product:
"The worm towers do work, but are nowhere near as effective as just sitting a bucket on top of the soil with a lid and small holes in the base.
Worms have a natural tendency to level out the soil and will therefore empty out a bucket sitting on top of the soil, but will fill a tower buried under the soil.
You don't want the worm cast just concentrated in one spot like a buried worm tower. You want the worm cast spread out over the whole garden area, therefore a bucket sitting ON TOP of the ground will be emptied by the worms and they will spread the contents as worm cast throughout the garden.
We have sold thousands of these small worm farms that we call Little Rotters, with fantastic feedback results. They are so incredibly effective because the surface area of your worm farm is now the surface area of your garden. Some people report feeding up to 10 times as much food through our very small Little Rotters than through much larger worm farms like Can-O-Worms, Hanging Worm Farms or even CFT's. And yes the worm cast gets spread quite evenly throughout your garden by the worms.
In my opinion this simple bucket on top of the garden soil is the ideal way of recycling kitchen and garden waste and fertilising your garden with absolutely minimal input from the time starved gardener 😀"
The Little Rotter, sits ON TOP OF THE SOIL, the worms just use it as a feeding station and then leave it to deposit their cast around the garden bed. The garden bed must be well mulched and watered, as the worms need shelter and moisture. But essentially your garden bed becomes the worm bed and the Little Rotter is just a vermin proof feeding station. Works much much better than a worm tower, and no need to ever move it.
Try it for yourself. Get a cheap bucket with a secure lid. Drill a dozen half inch holes in the base. Place the bucket on top of your garden bed soil and add a large handful of compost worms. Then feed with whatever worm food you have available. In the US climate, these units will only work when the freezing conditions have passed."
Are you ready to take it to the next level?
If you have found George's point of view on these two products interesting, you might want to read more from him and other industry leaders.
Whether you want to start or already have a business, or even if you just want to take your domestic worm farm to the next level, you might want to get involved in the Worm Farming Alliance (WFA). The members of the group includes industry leaders, scientists, technical experts but also people just like you and me who are just passionate about the subject and are keen to learn more.
For a very low monthly fee, you can access a lot of free and paid-for resources from marketing to technical documents.
But aren't compost worms supposed to live exclusively around the food and never leave? This is another urban legend that has spread and is now more popular than the reality, very like the common thought that leachate is worm tea and can be used without risk, but this is for another article. When asked about this and how would the nutrients from the containers could possibly move horizontally in the garden soil, George explained:
"How do nutrients move horizontally in the soil. There are two simple methods for horizontal movement of nutrients.
One is fungi, and the other is worms.
The belief that compost worms ONLY move vertically ie: up and down is somewhat limited. That is perhaps how humans use compost worms in domesticated worm farms, but that is not necessarily how worms live in the wild.
Consider how wide spread the compost worm species are in their native habitat of Europe. How did they become so wide spread?
If a fruiting tree or a heard of wild animals is dropping fruit or manure in the one spot, do the worms suddenly just appear in this one spot and eat the fruit or manure and then when the tree is finished fruiting or the herd of animals moves on, what then? Do the worms just die, perhaps leaving some cocoons behind?
Yes and No. The worms do leave cocoons behind, but they also move on to find the next tree or herd of animal manure. That is how they spread naturally in the wild.
We have done numerous deliberate and initially accidental trials where we had outdoor windrows and compost piles and found worms migrated over hundreds of metres to new and empty windrows or compost piles. We have found that compost worms can travel several hundred metres per night in damp or wet weather.
So the natural movement of compost worms is BOTH vertical AND horizontal."
My implementation of on-ground worm bins
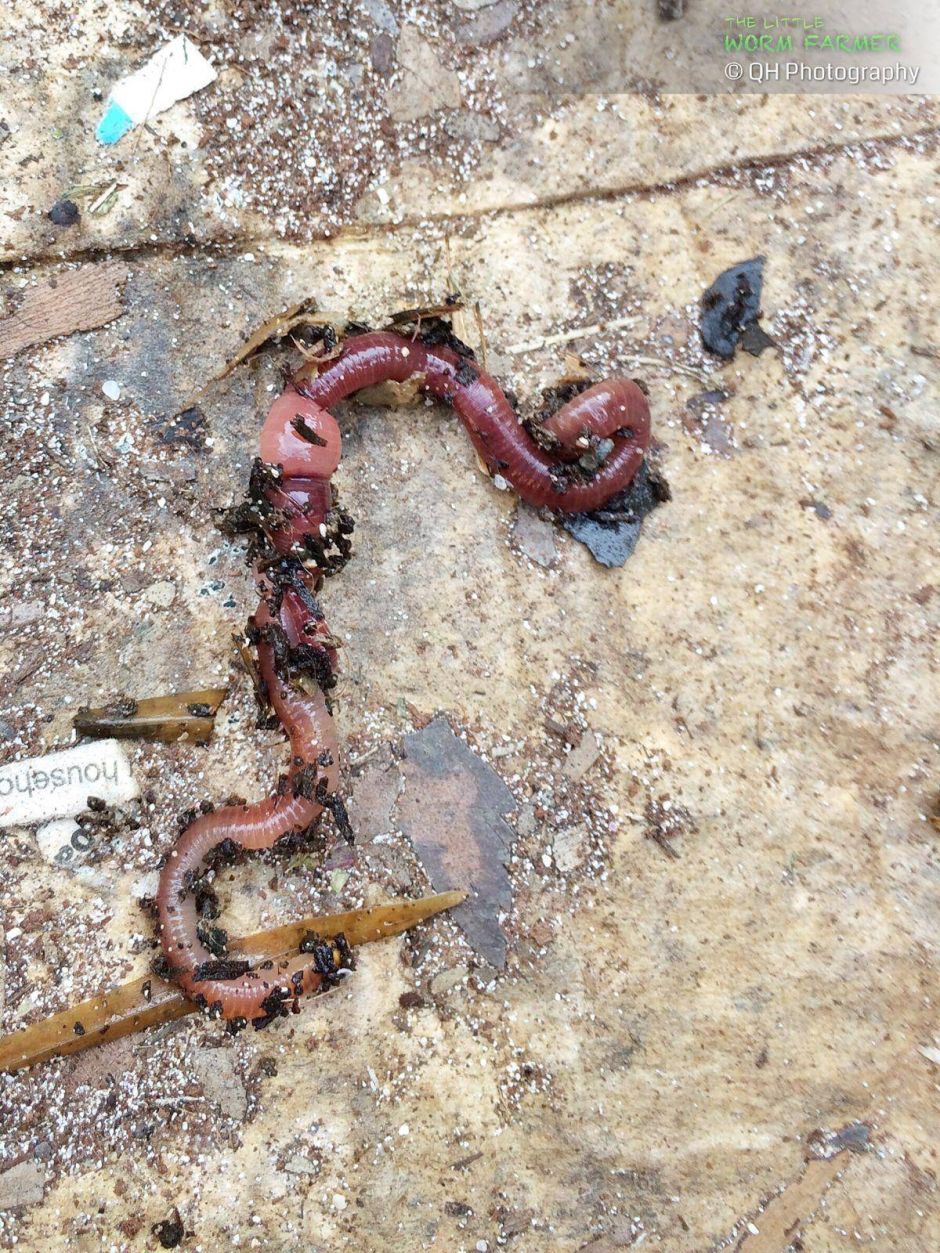
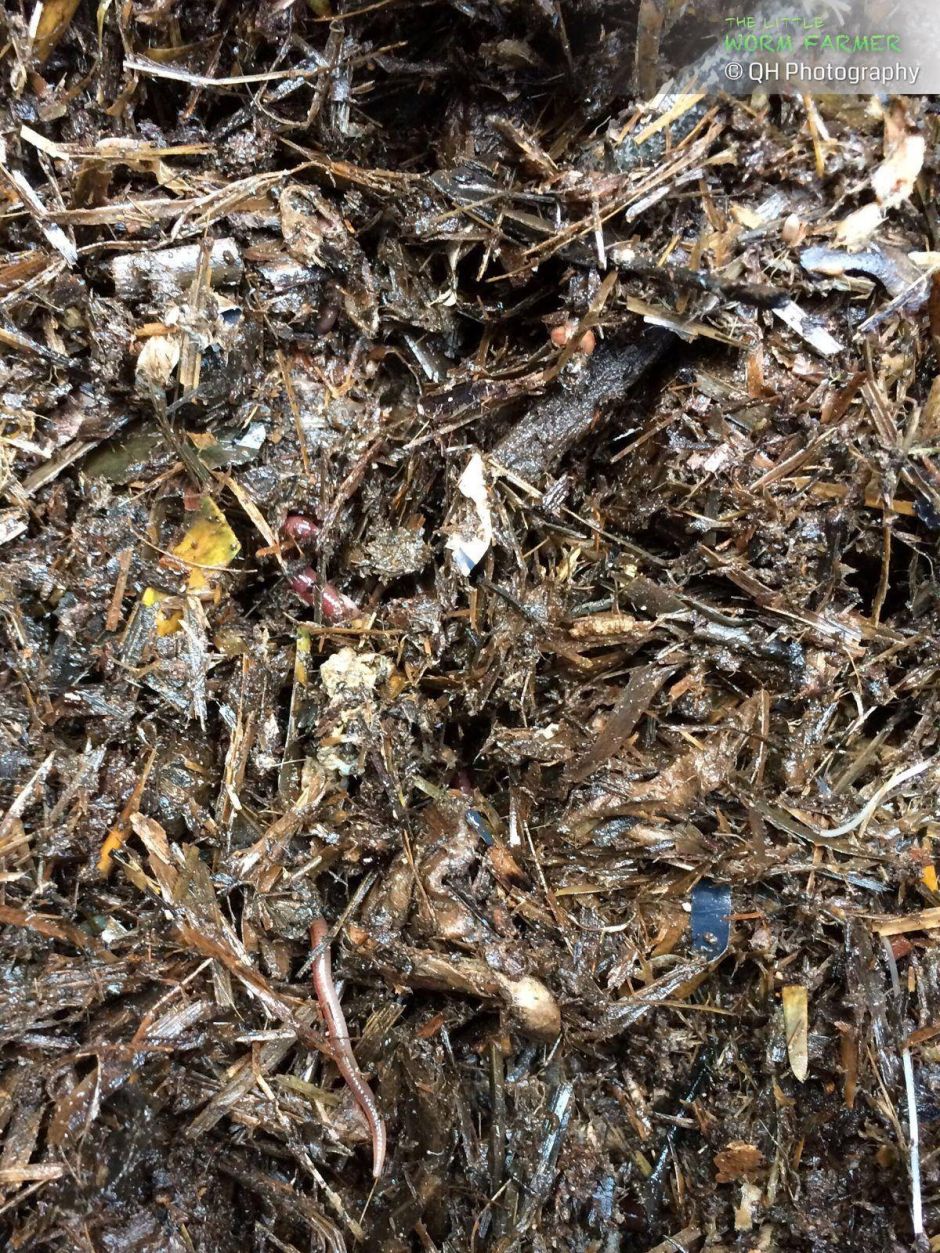
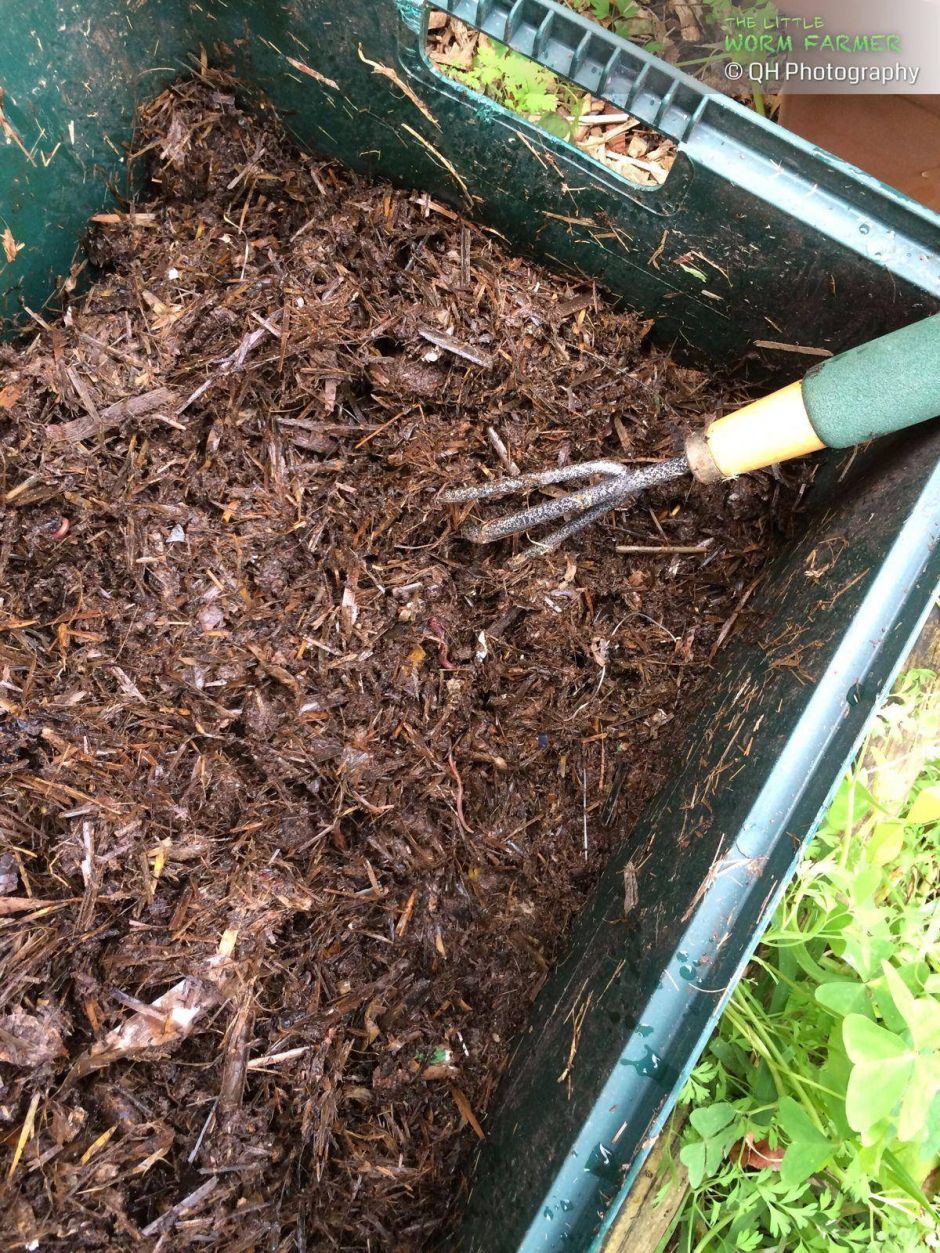
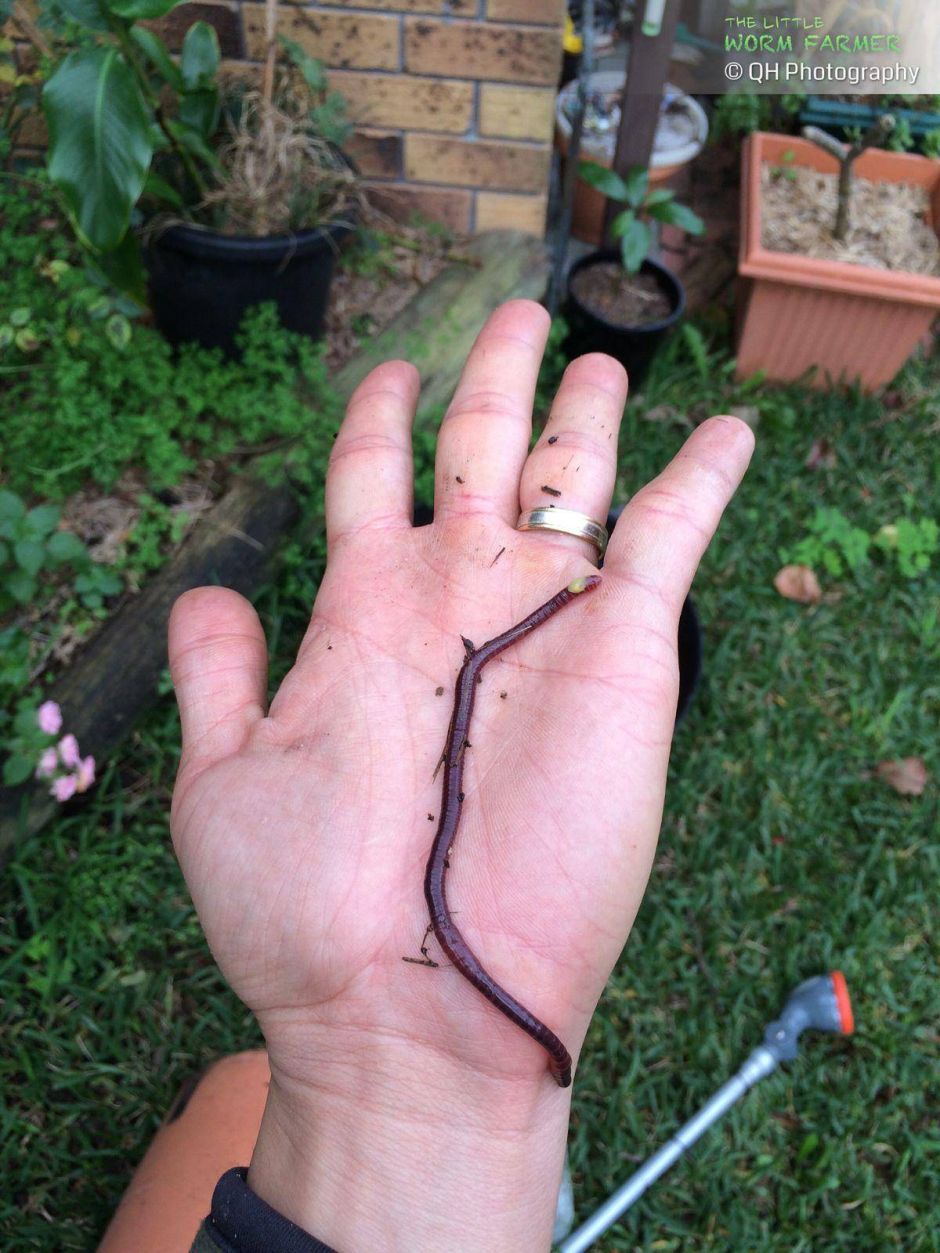
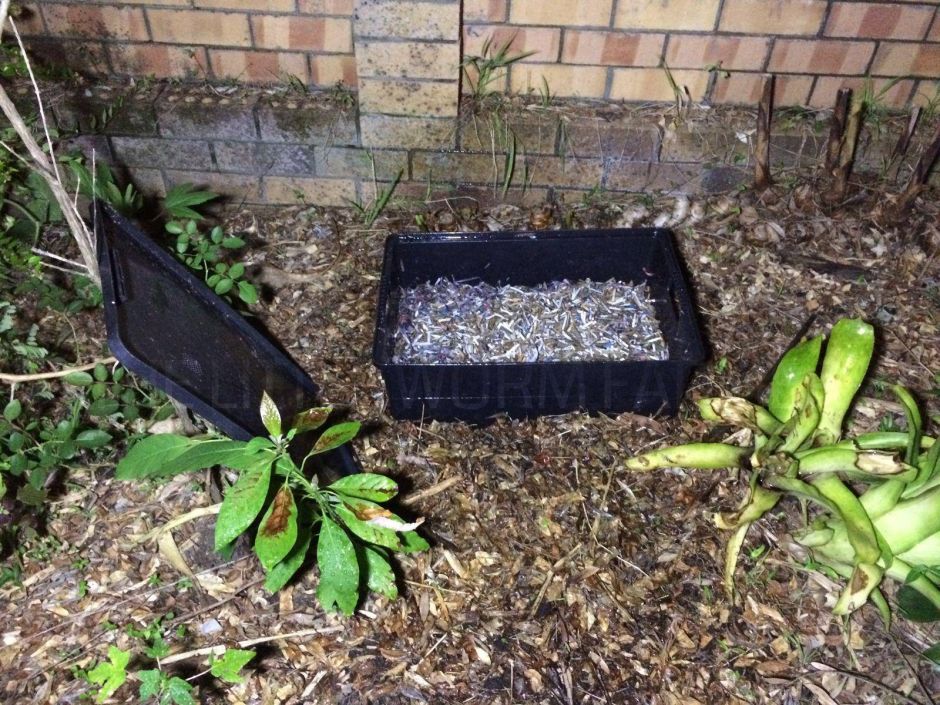
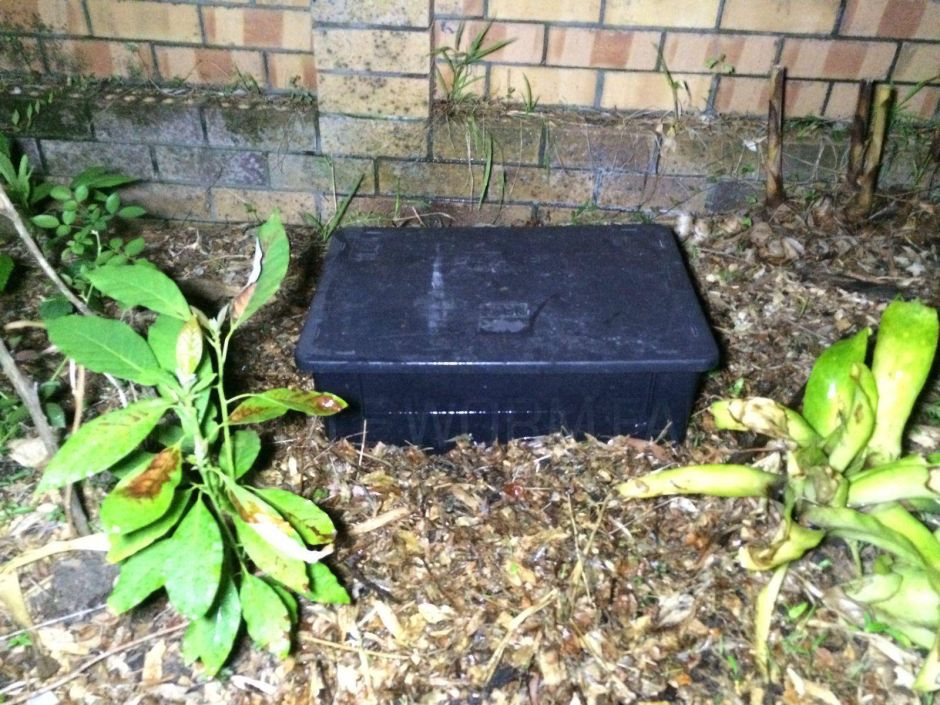
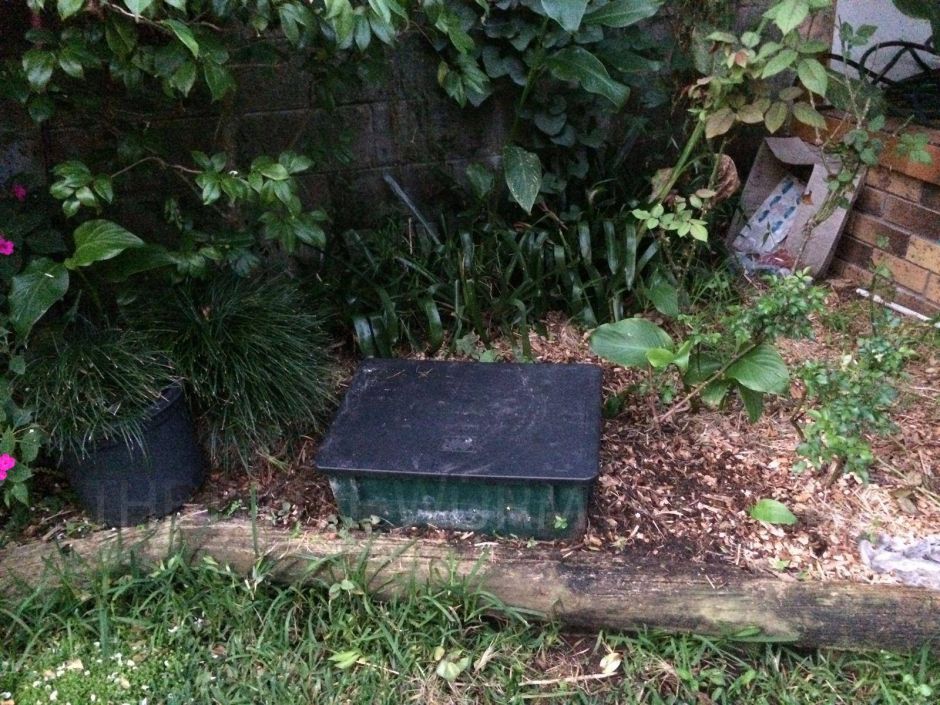
After digesting all the information George shared with us on the Red Worm Composting Facebook group I decided to give it a try and installed two empty Worm Factory trays with their lids in two different parts of my garden. At the time I wanted to attract native worms because these parts of the garden had very compact soil and I was hoping worms would be helping out. A month ago, I had amended the soil by adding one inch of mushroom compost, a lot of fall leaves and a layer of wood chips. This alone was already contributing to attracting worms and loosening the soil. Two weeks after installing those worm trays on top of the soil, I could see they have attracted a few of these big Cod Worms aka Alabama Jumpers (Amynthas Gracilis) and underneath the worm bin I could see lateral burrows of those worms. That was excellent news. Few months later (few days ago), to my surprise, I saw a nice population of native Red Wigglers, some of which were as big as European Nightcrawlers, I identified them as Red Wigglers due to the yellow coelomic fluid they are secreting from their tail.
In my two initial on-ground worm bins, I added:
- shredded cardboard and newspaper
- aged grass clippings
- sugar cane mulch
- goat manure
- horse manure
In one of the bins I also added about 20 worms. But on day two they all have disappeared from the bin which I suspected was due to the goat manure that was too fresh and contained goat urine rich in ammonia. So I consider these bins empty when started. They basically were basically acting as worm trap/attractors. With the success of the two initial bins, I have since installed three more.
To conclude, I will say the Worm Tower is a nice product that might suit small gardens or people lacking space and can only use relatively small garden beds. But if you can spare some space for a container of 1 sqft of surface area(for example 10x15 inches) and you are looking for optimum efficiency, then getting yourself a Little Rotter or Big Rotter or making one yourself, like George explained above, is the way to go.
Related links:
Learn more about George Mingin and Kookaburra Worm Farms
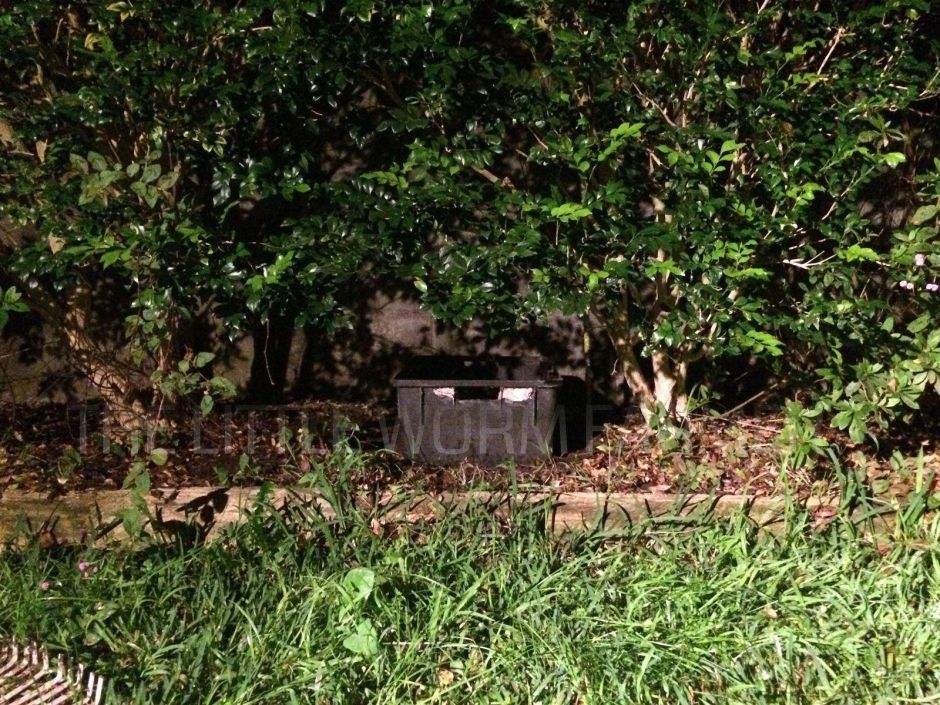
Update 1:
I started another Big Rotter with only dry leaves and it seems to still attract a lot of worms. In another one, plants were throwing roots inside the rotter, that shows they really love the rich material inside it. Every time I lift a Big Rotter, there are worms wriggling underneath it.
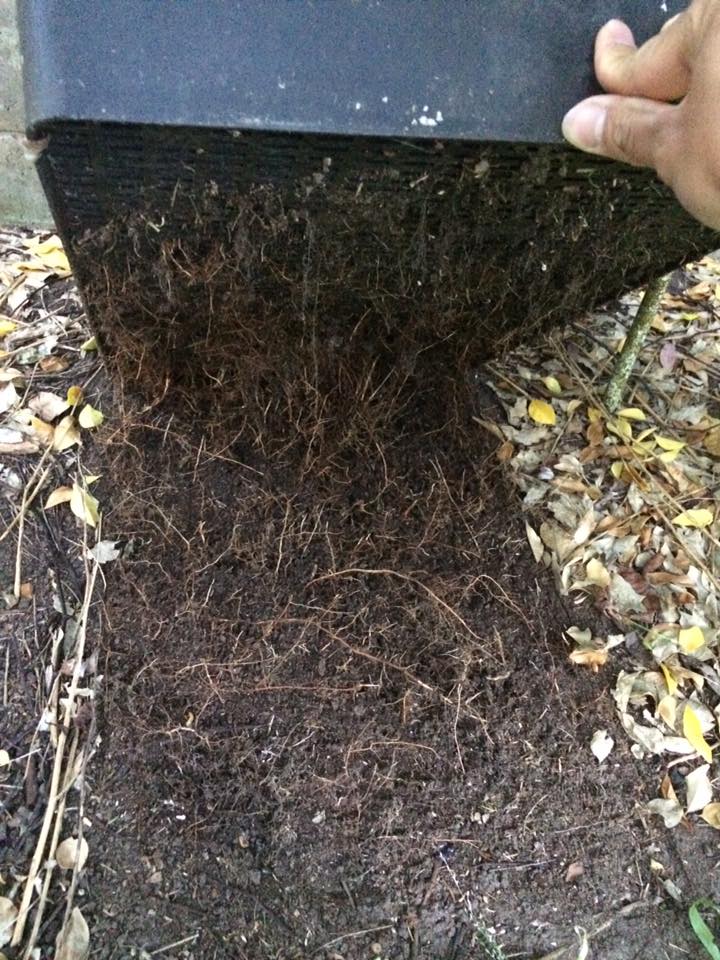
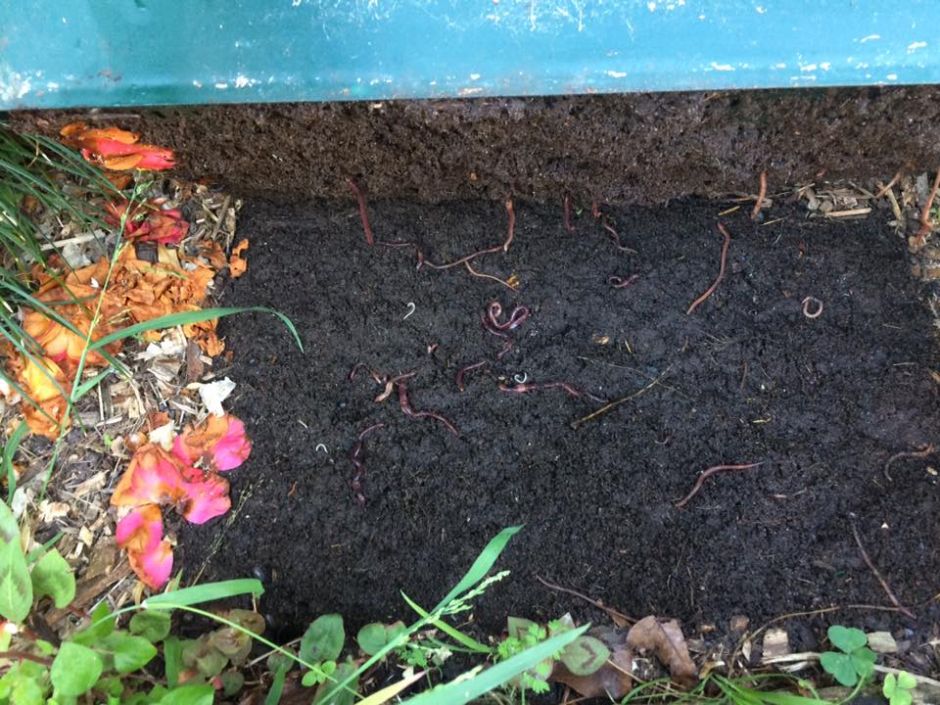
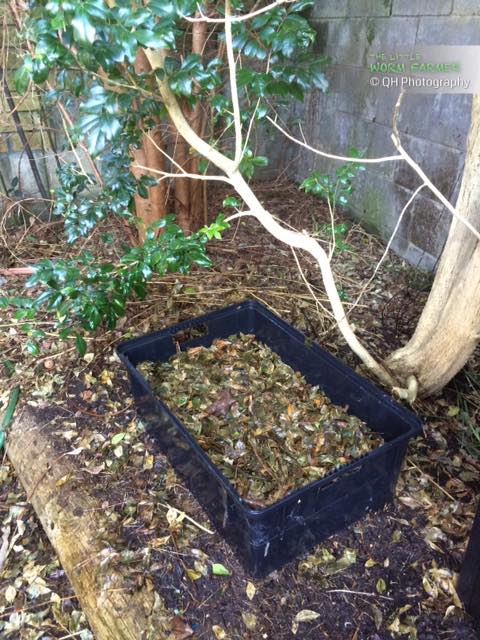
After about 5 months, two of the Rotters I neglected have had their horse manure converted into finished vermicompost, see the video here:
Update 2:
I've installed a variation of this on-ground worm bin system, using this time a 5L (about 1 gallon) bucket with wholes drilled in the base and the sides. This bucket was then installed in the middle of a raised garden bed that I setup for my mini chocolate capsicum plants, right on top of the soil and then surrounded buy the sugar cane mulch I have added on the surface.
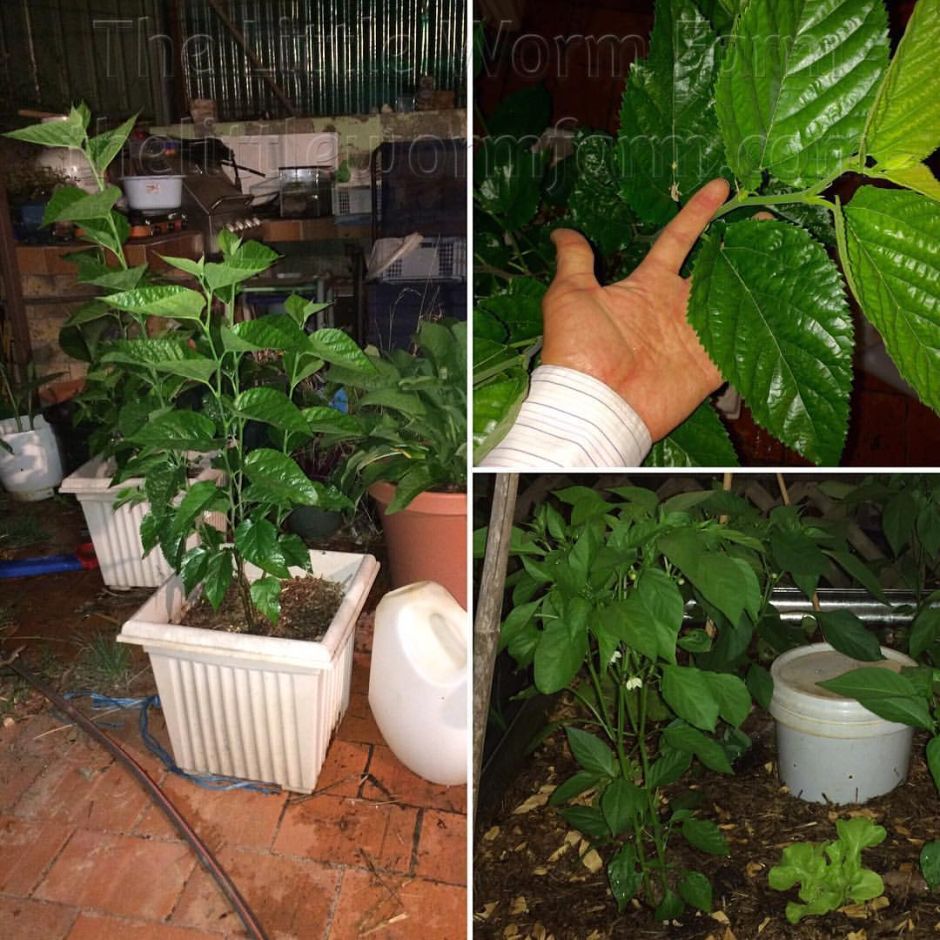
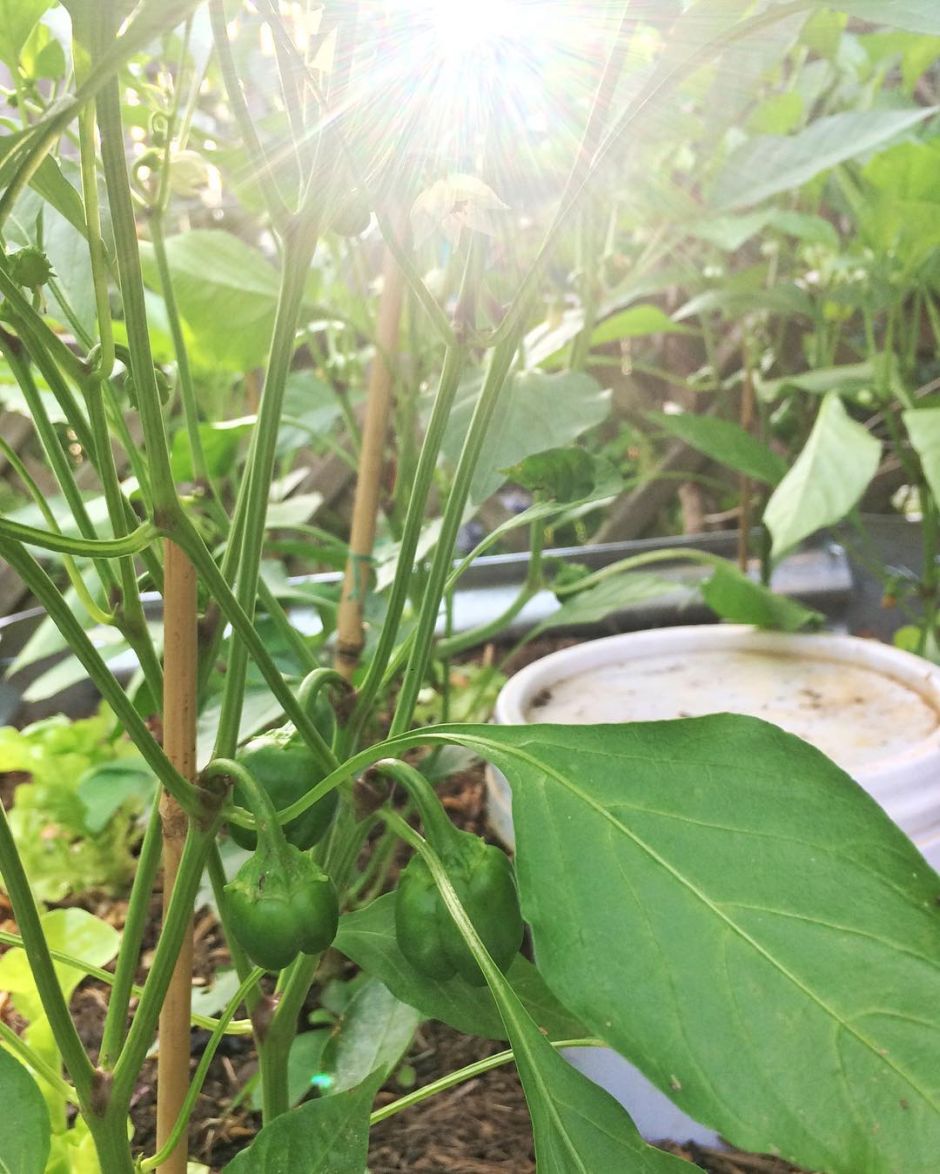
Update 3:
Kookaburra Worm Farms says that The Little Rotter is actually ideal for composting dog and cat poo. And "Each Little Rotter unit measures 220mm square x 310mm tall and will service an area of approx 10 square metres."
Update 4:
I found a cheap plastic bucket at the hardware store, it is supposed to be a small kitchen benchtop composting bucket. I just drilled holes in the base and installed it in. I like this container as it is less bulky looks nicer in the garden.
