Making a styrofoam worm bin
 I got these styrofoam boxes from a large fruits & vegs shop in Erina, NSW
Wooden worm bin are awesome, you can get the material for free, they breathe much better than other materials such as plastic, however you need to put quite a bit of effort. There is the material gathering, the tools to cut and build the bins, if you want to use the bin for a long time then you need to treat the wood so it won't rot too quickly.
A lot of domestic worm farmer are using plastic tote from hardware store to make worm bins and that work fine. But I like styrofoam boxes, they are light, easily cut and provide some good thermal insulation.
Like for all worm bin you need to keep in mind few basics requirements:
- surface area of the bin: if you intend to grow many worms to process a good amount of food, then surface area is the primary point. Worms self-regulate their population mainly based on the surface area and food available.
- depth of the bin: this does not affect too much on the number of worms you can grow in the bin, but in a bin made of non/less breathable material such as plastic the depth of the bin can affect the moisture retention of the bin: only the top few inches of the bedding will breathe properly allowing evaporation of excess moisture, the bottom of the bin will retain moisture too well and that excess moisture will create an anaerobic environment that could lead to killing the worms.
- drainage: if you are a beginner, having drainage holes is important to allow excess water to escape the bin. The drainage holes will also act as ventilation holes at the bottom
- ventilation/aeration: a composting process requires a good amount of oxygen to perform properly, so a well ventilated/aerated bin is critical. Worms don't have nose but they absorb oxygen thru their skin. See the three most common beginner mistakes for more details.
- protection against weather/critters: depending on your situation you might want to have a lid on your worm bin. For an outdoor bin the lid would provide darkness, protects from too much rain getting into the bin, protects from predators such as birds. For an indoor bin, the lid will help keeping bugs away from the food source preventing them to breed inside the bin.
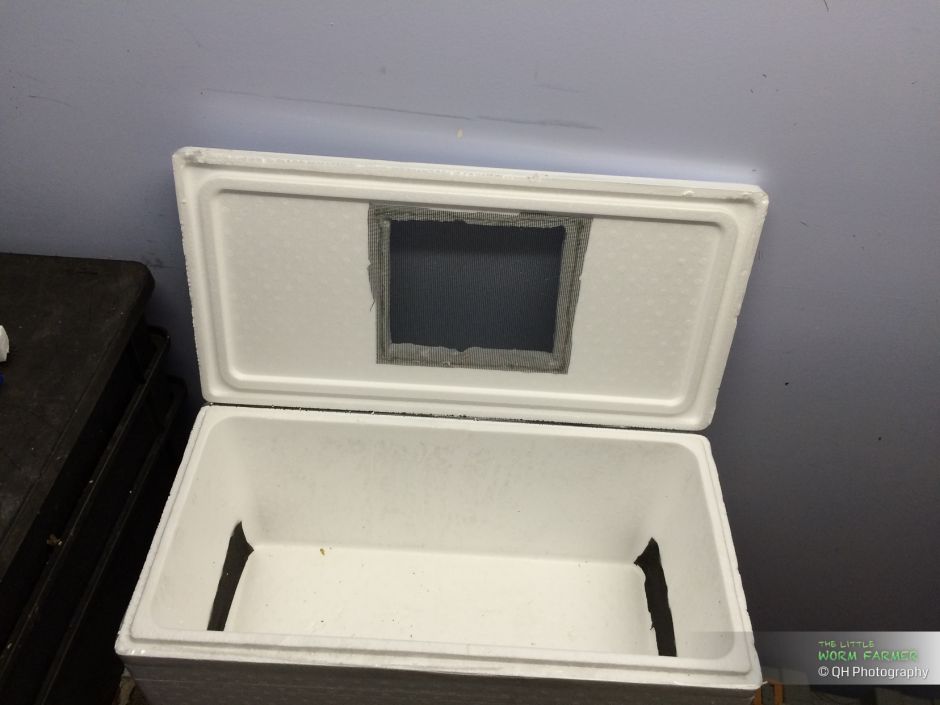
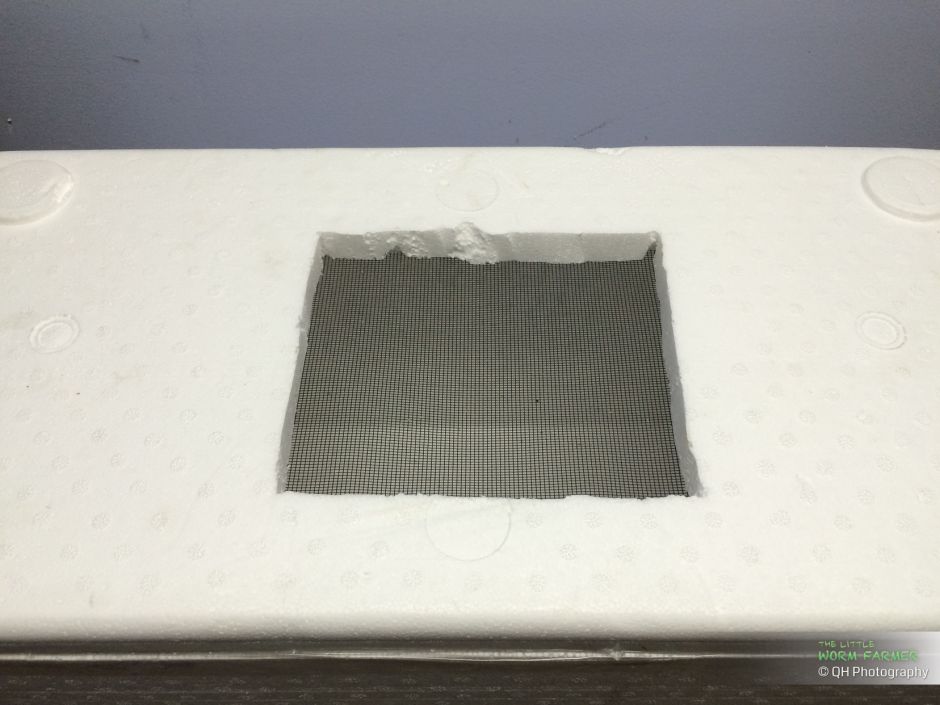
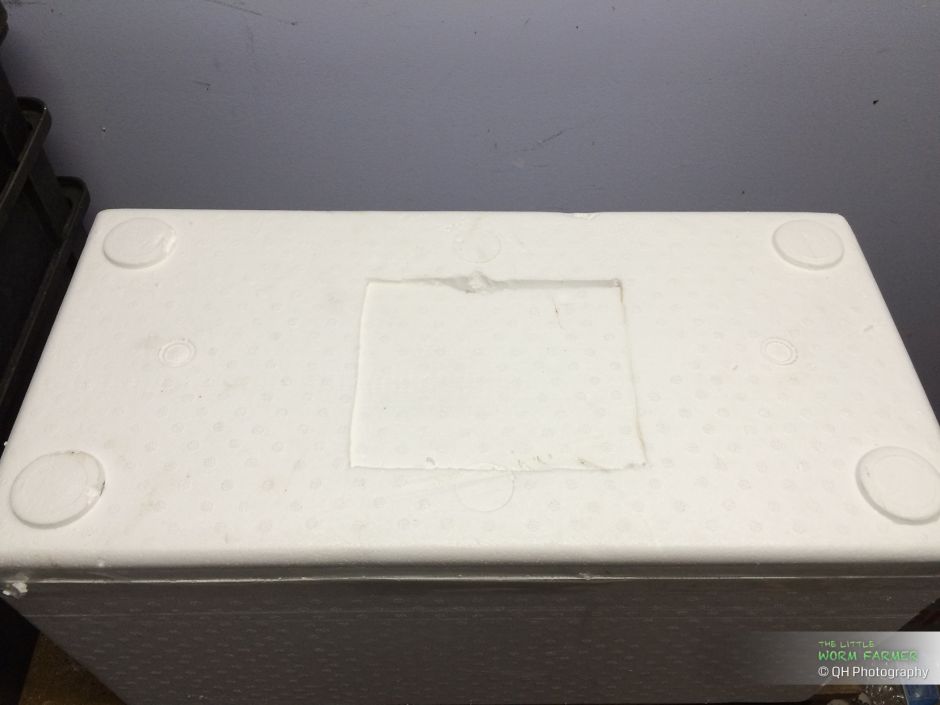
A styrofoam is as bad a breathing material as plastic, hence the need of good ventilation holes. Drilling small holes into the walls/lid is not an effective way to provide ventilation to your bin, even if you drill a lot of holes; gas can be exchanged but there is not enough air flow on the surface of the bedding. A much better way would be to cut a good section and cover it with a fly screen.
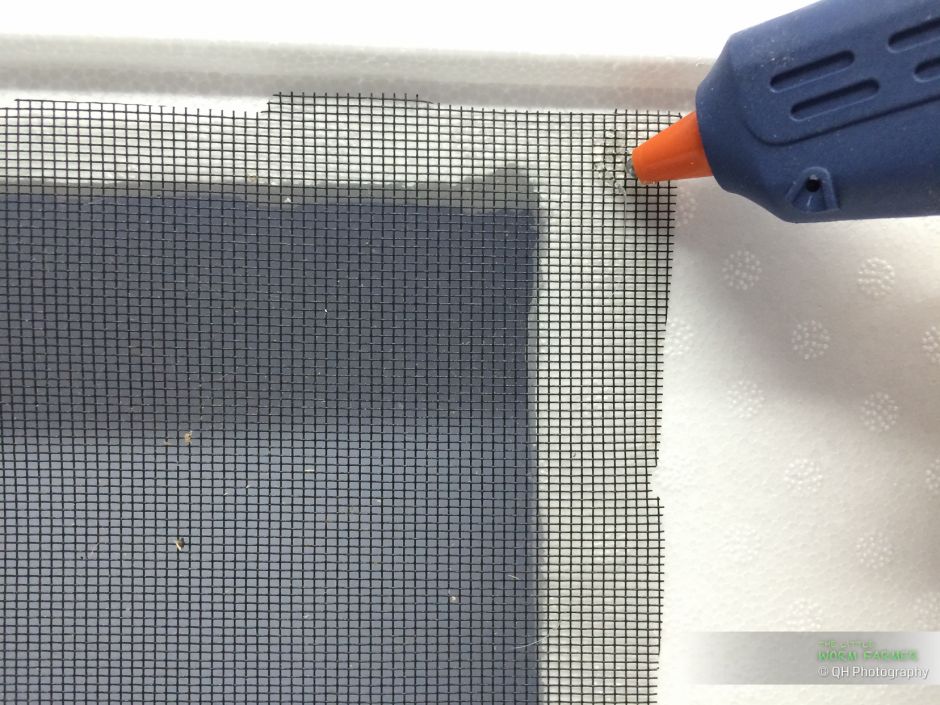
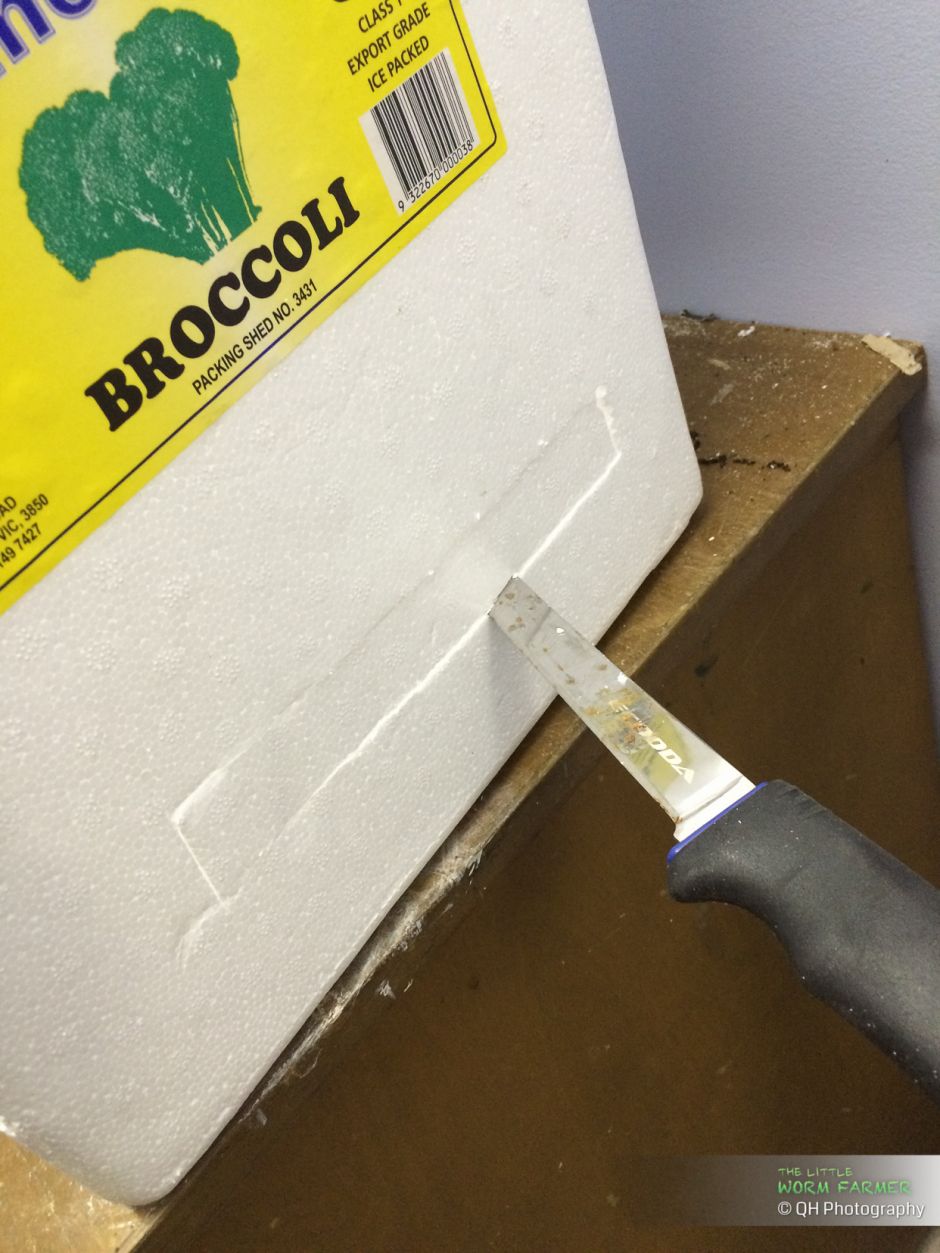
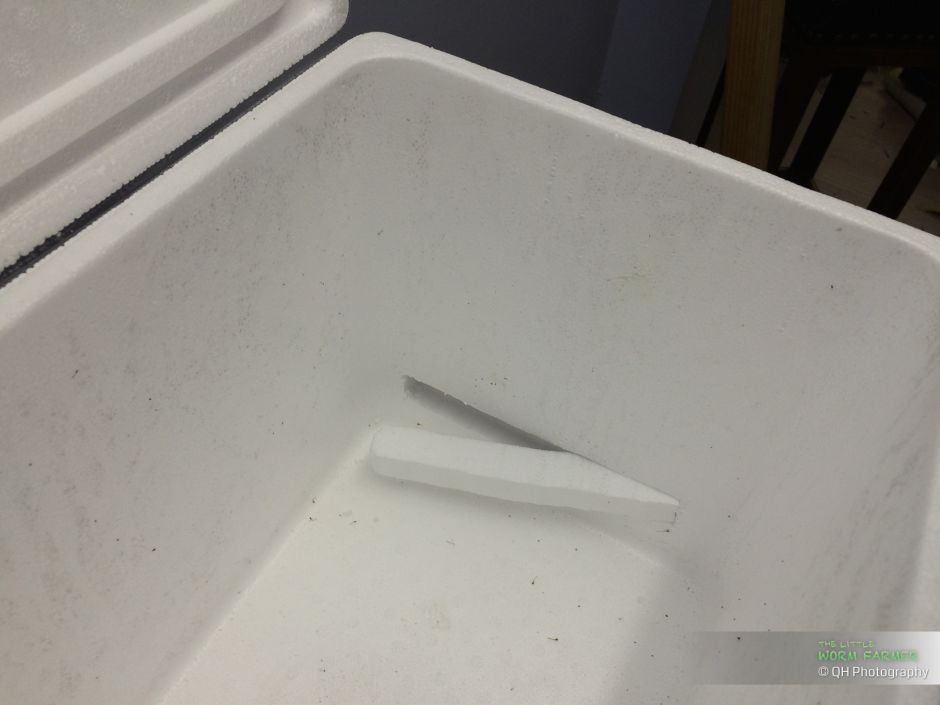
Cutting a section of styrofoam is an easy task, any good knife would do. Then it is just a matter of hot glueing the fly screen to cover the section, to not only prevent the worms from escaping during rain storms but also prevent most bugs from entering the bin.
This bin is going to be installed indoor, if it was for outdoors I would not have cut a section on the lid itself as it would let the rain get inside, instead, I would have cut a section at the top of two opposite walls, just like what I'm going to do now at the bottom to provide ventilation at the base. Side vents are also the way to go if:
- you plan to stack the boxes, then obviously a vent hole on the lid won't work
- you want extra ventilation to the lid section
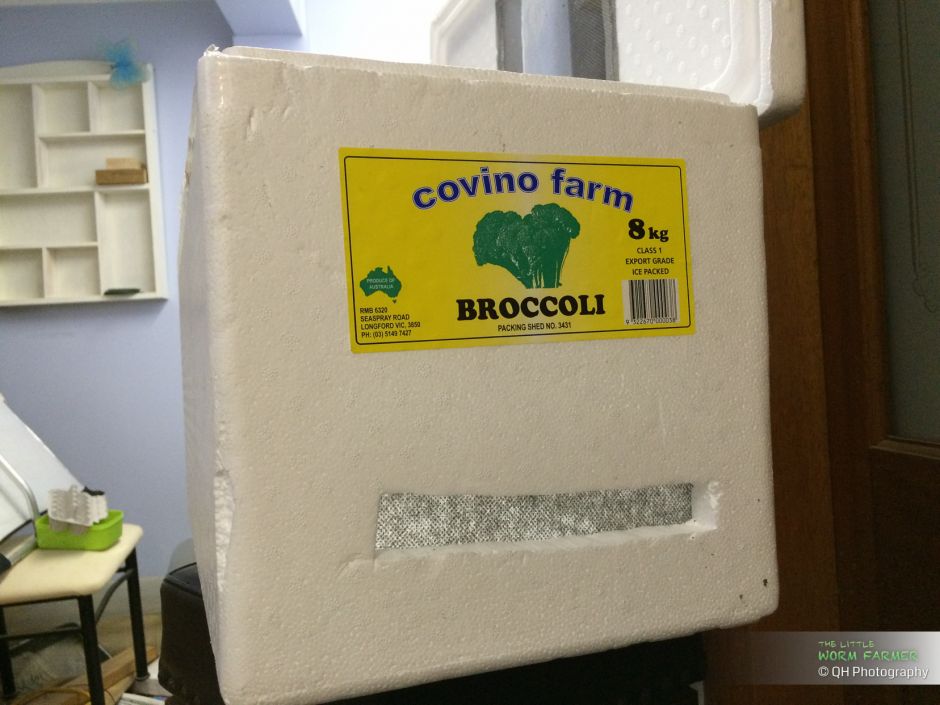
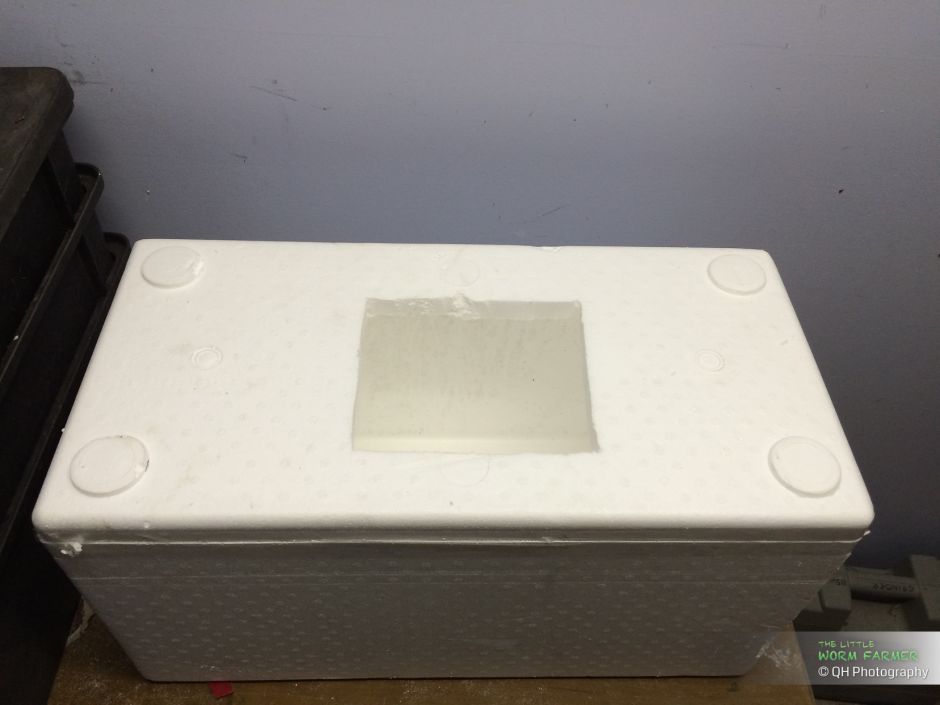
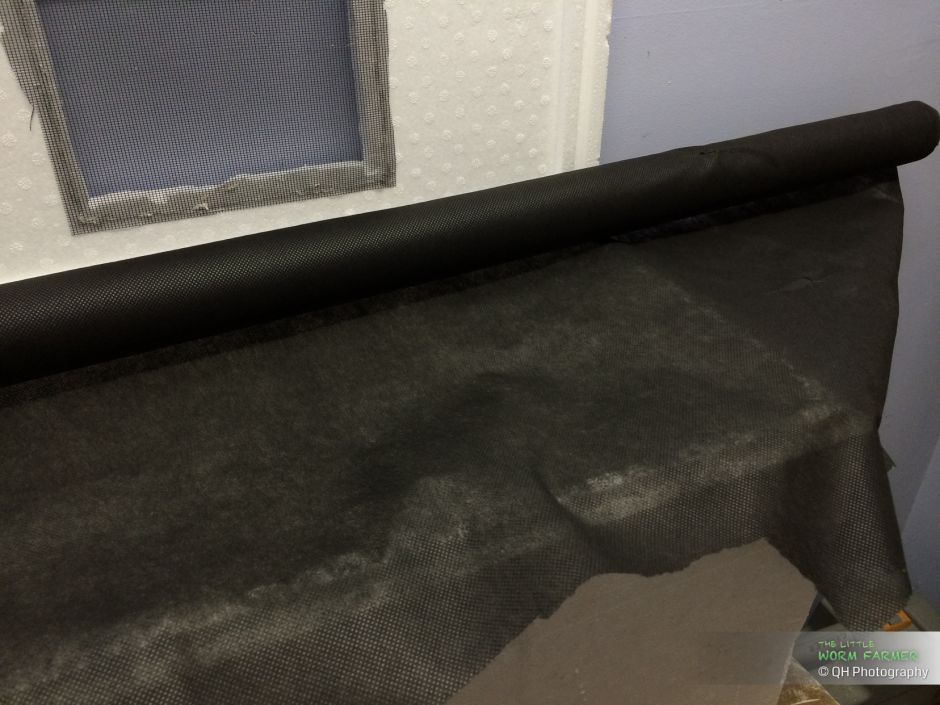
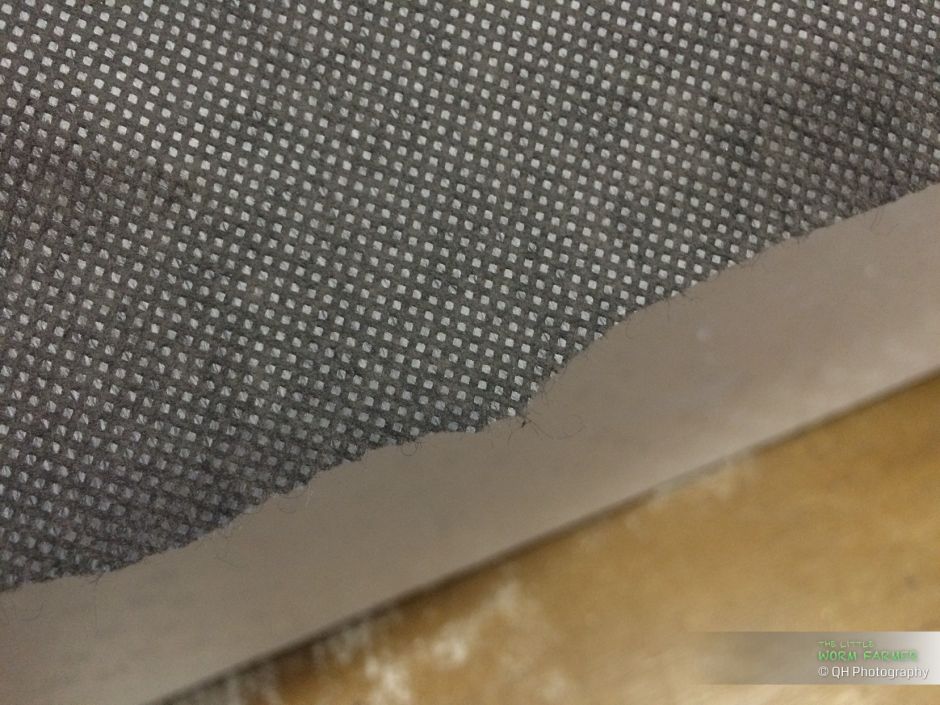
I now have good enough ventilation at the top (I could cut a large hole but I didn't have enough fly screen material to cover it), my bin needs vents at the base to allow air to be sucked in. How it works is: as the moisture content in the bedding evaporates, it creates a void that is replaced by air coming from the sides (not applicable here) and bottom. As I won't have any drainage holes, I will proceed by cutting sections of styrofoam from two opposite walls and cover them with a thin sheet of geotextile. It won't provide air flow (which I don't need at this location), but gaz exchange will be good enough.
The reason I don't have drainage holes is because I control the moisture in my bins by adding a lot of fresh and dry bedding material, the material will absorb excess moisture from the food scraps and will stop production of leachate.
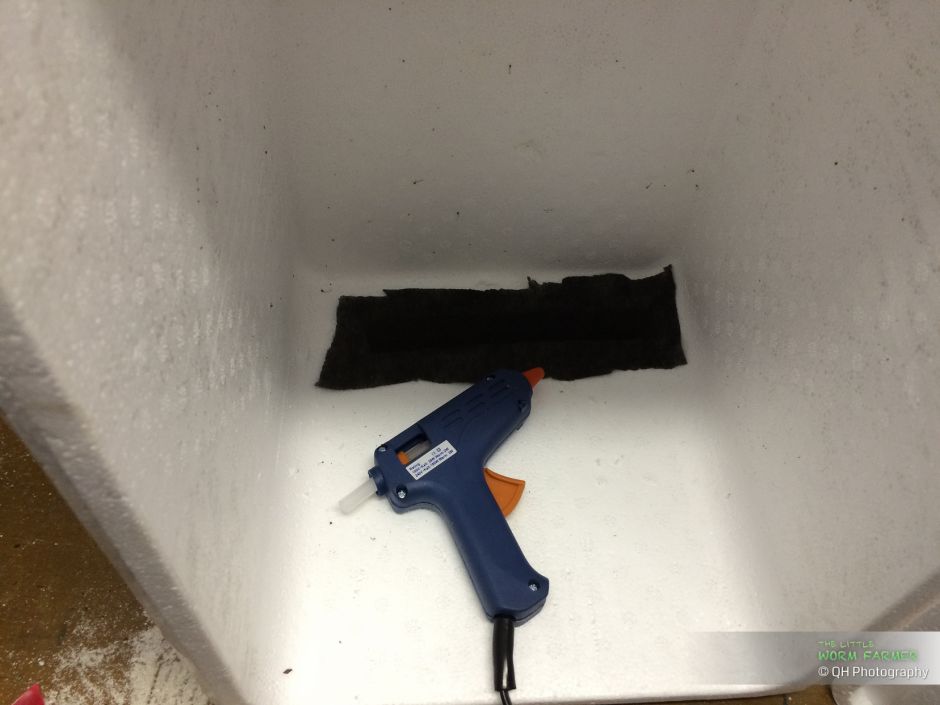
The geotextile sheet is layed inside and hot glued to the styrofoam material. Hot glue is great, as it does not melt the styrofoam and dry in a matter of seconds. I only need to glue the for corners of the sheets as the weight and pressure of the bedding inside the bin will push against the sheet to keep it in place.
This ventilation should allow a good amount of air to enter the bin and sustain the population of worms and bacteria in order for them to do what they do best: composting my food scraps.
And here is the end result. The styrofoam box has been converted into a working worm bin in 12 minutes, including taking the pictures. All that is left to do now is fill this bin with bedding material and worms and feed them, but that is another story.