Wooden Worm Bin
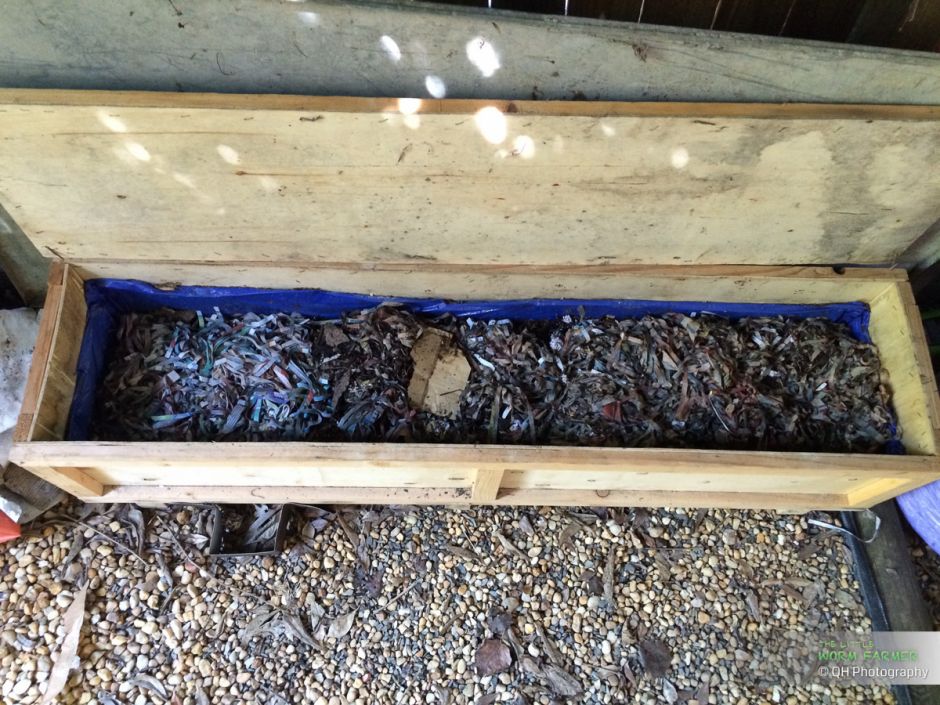
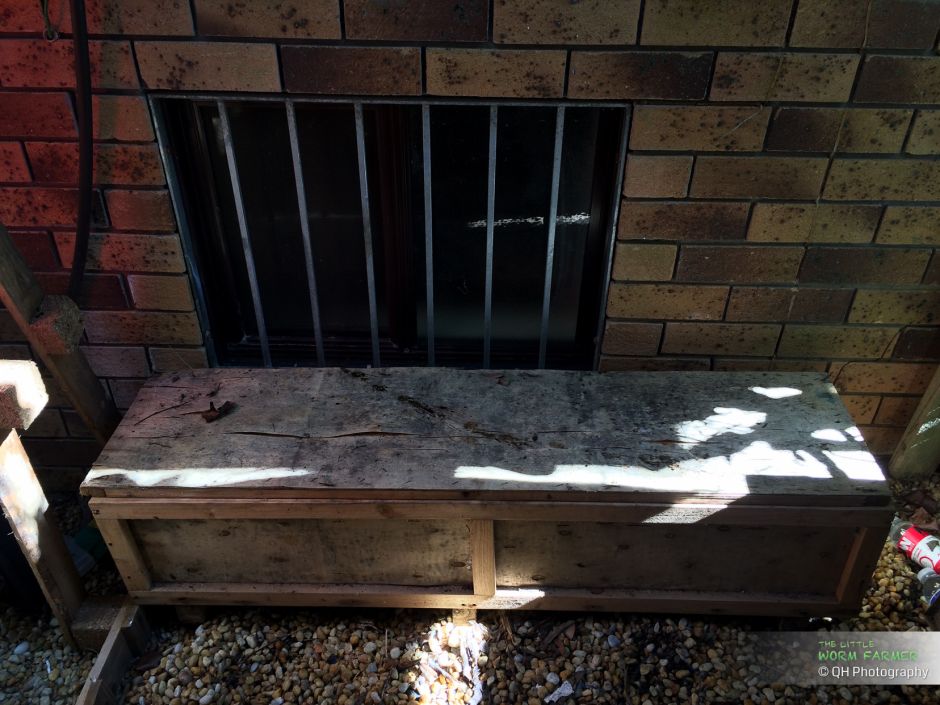
I've been planning to replace my current horizontal flow bin made of an plywood storage crate. It has worked wonderfully however being only 27cm (10in) wide I thought I could use more surface area.
So I started to take what ever wood scrap I could find and tried to build a single compartment worm bin. After measuring and cutting I started the base and suddenly realised that in my various change of mind I got mixed up and ended up with something different than what I had in mind, lol. But it wasn't too bad, I can fix it, it will just take a bit more wood than initially required.
The final bin should have a inner dimensions of 70.5 x 79 cm (27.7 x 31.1 in) which is about 0.56 sqm (6 sqft). That should be able to host up to 5.44kg (12lbs) of red wigglers in ideal conditions or an average of 4.08kg (9 lbs) of worms.
A friend of mine, who knew I like to build stuffs with wood, has kept aside for me some wooden bed slats a neighbor was throwing away. Bed slats are great because they are much thicker than wooden pallet boards and for building a worm farm it is better as it would last longer.
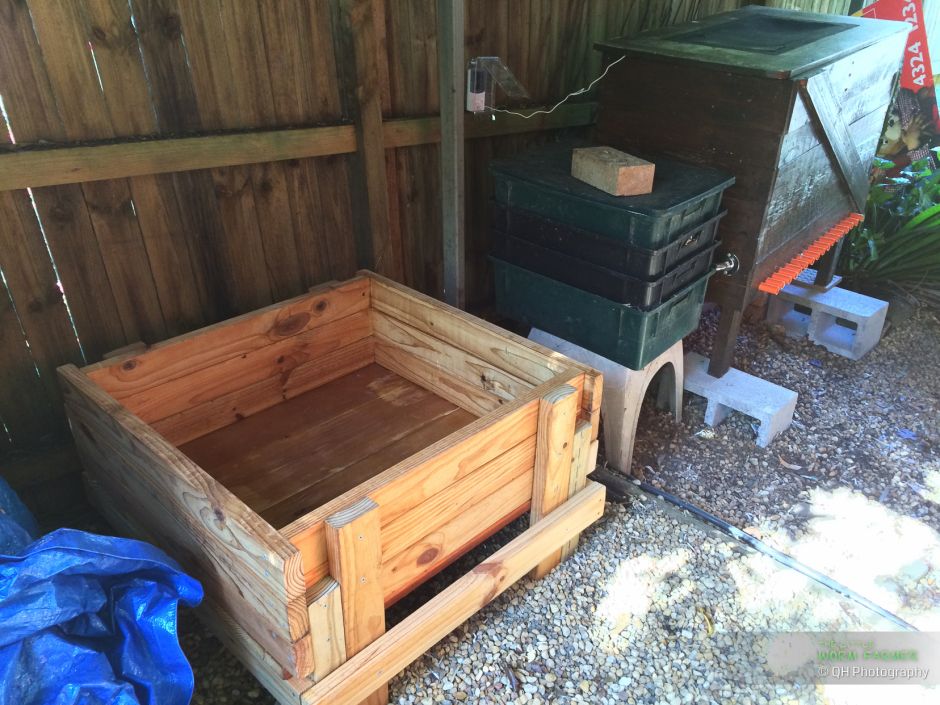
So I started building a single compartment worm bin made of bed slats to replace my fragile horizontal migration bin pictured above.
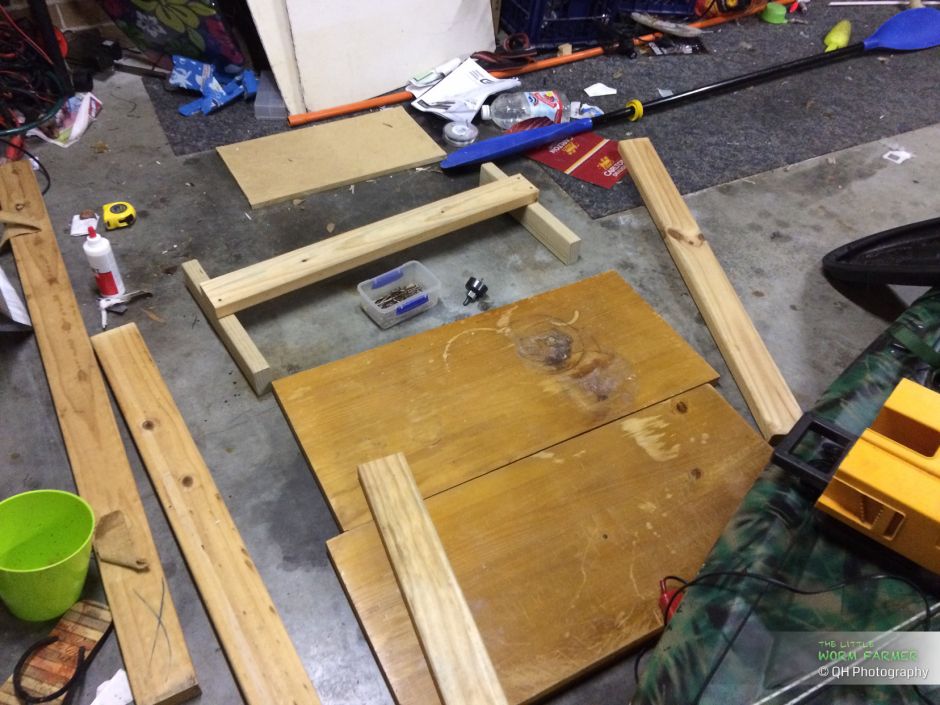
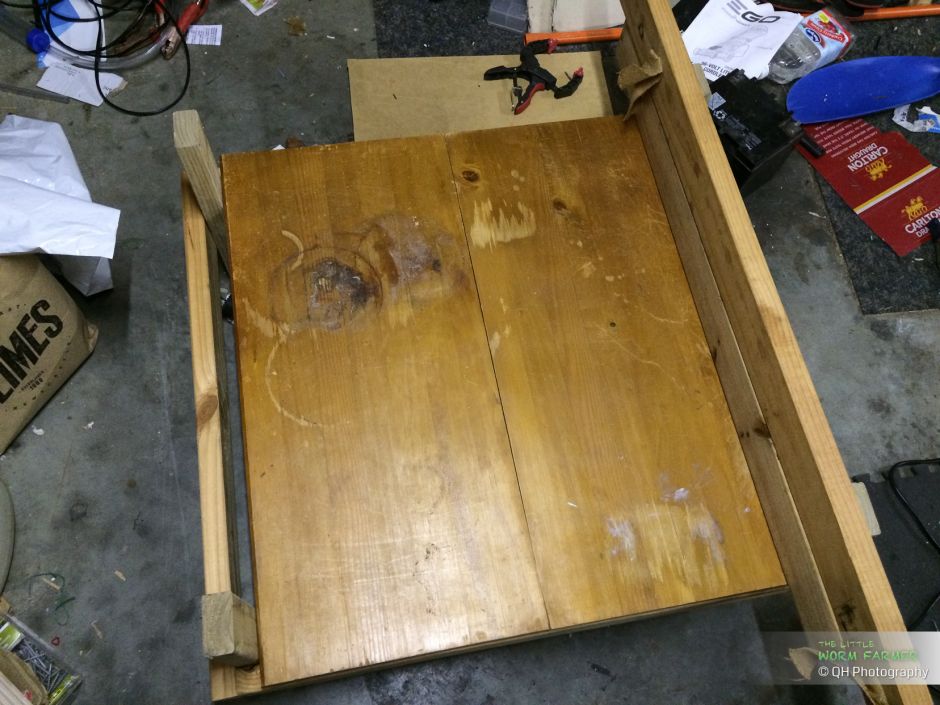
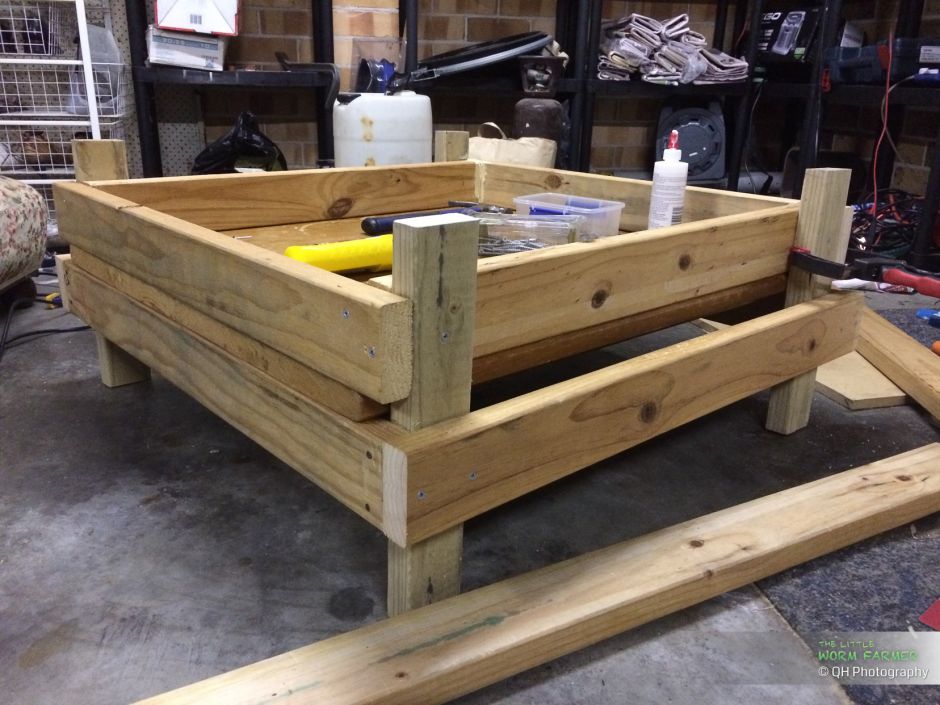
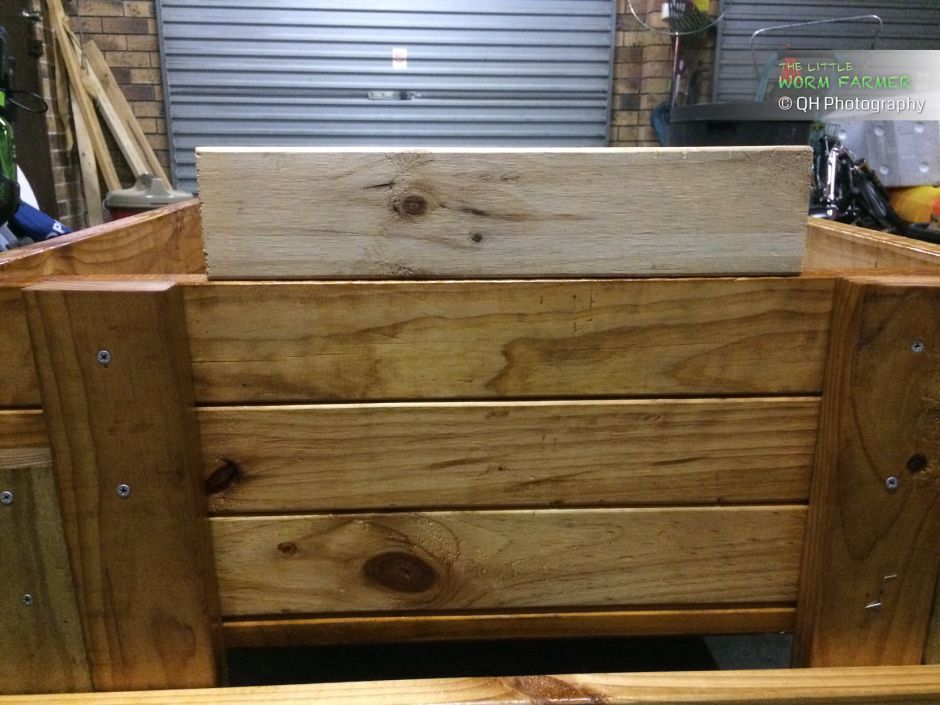
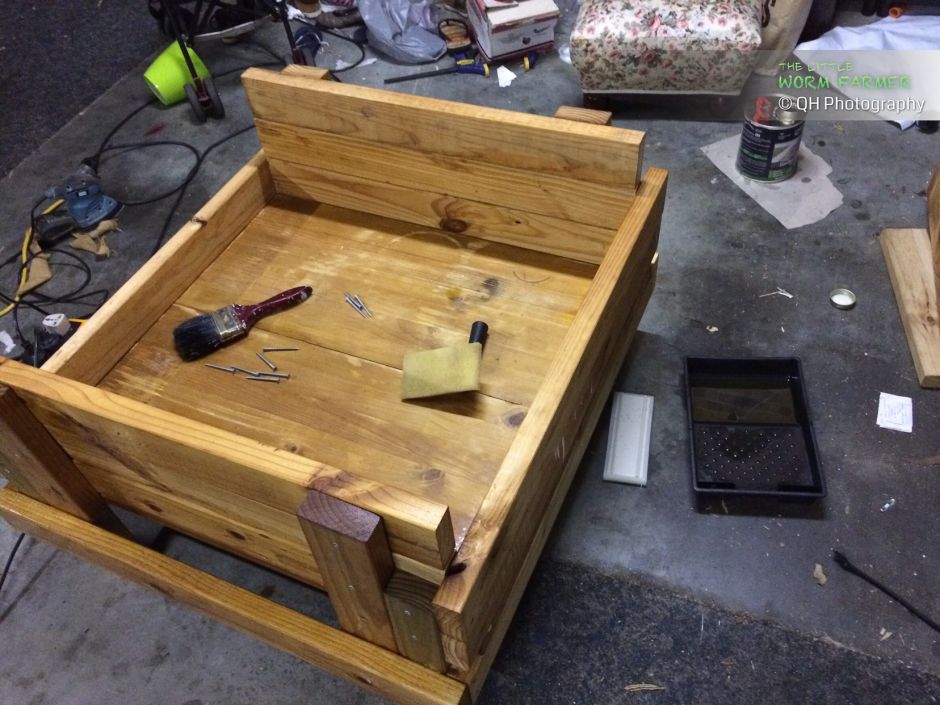
I started laying down some of the material I have and started imagining how I would lay them. This time I had a flu and was rather lazy to plan anything so I decided to just plan as I built, which was not a wise decision lol. I ended up doing some wrong cuts and the four legs were too shorts to hold three layers of boards that were going to make the walls. But that will be easy to fix.
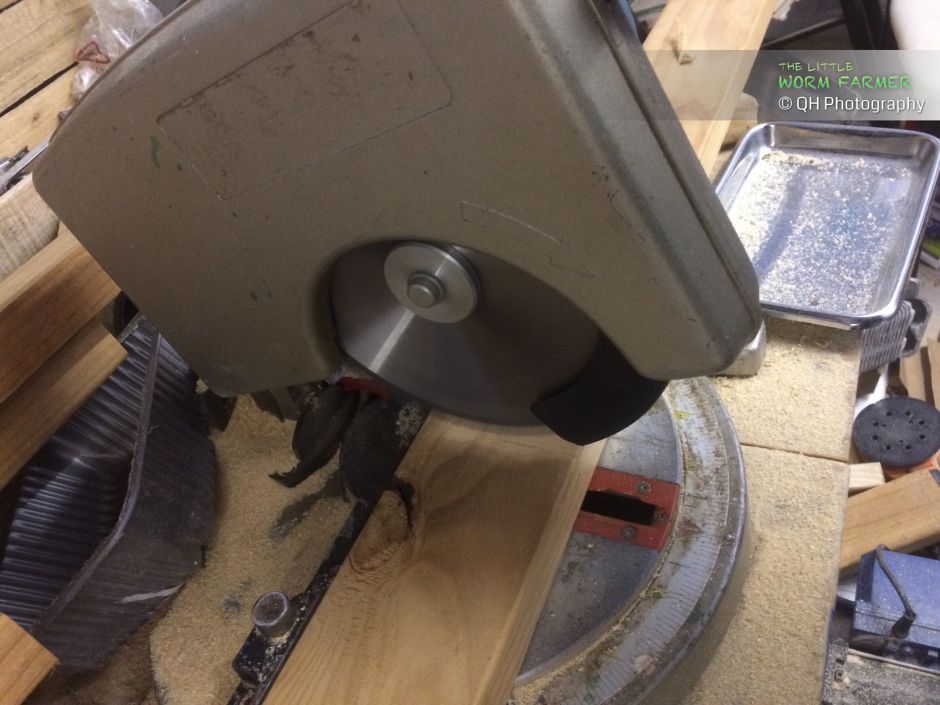
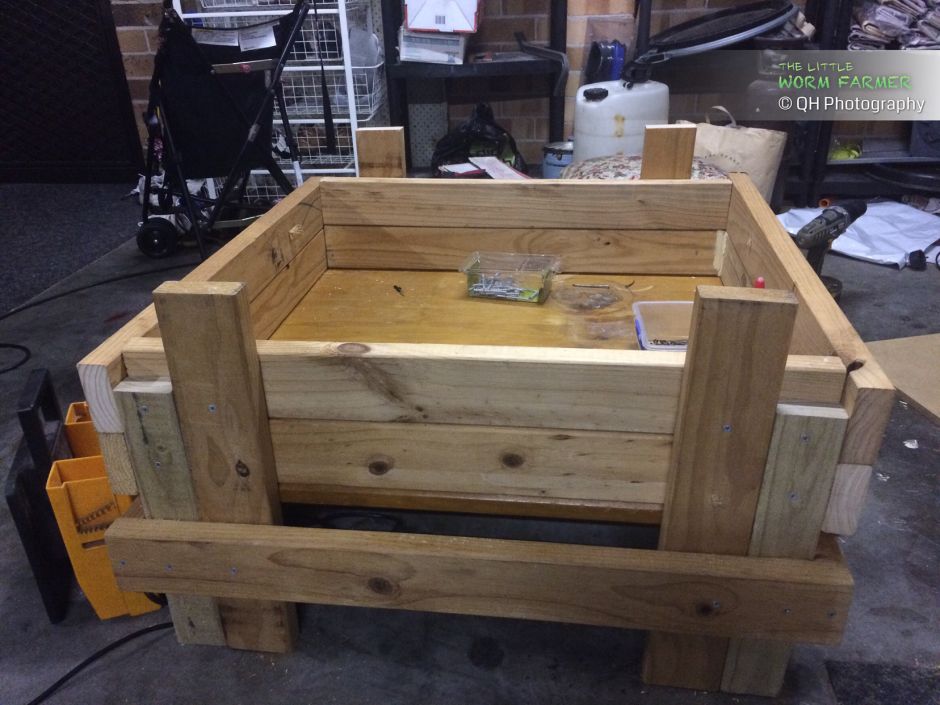
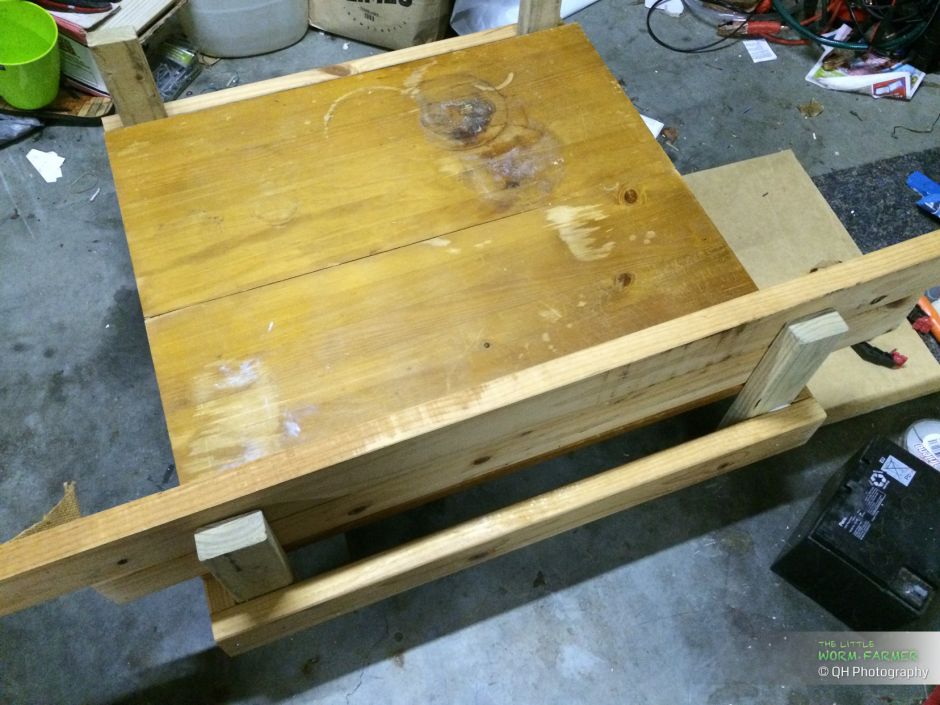
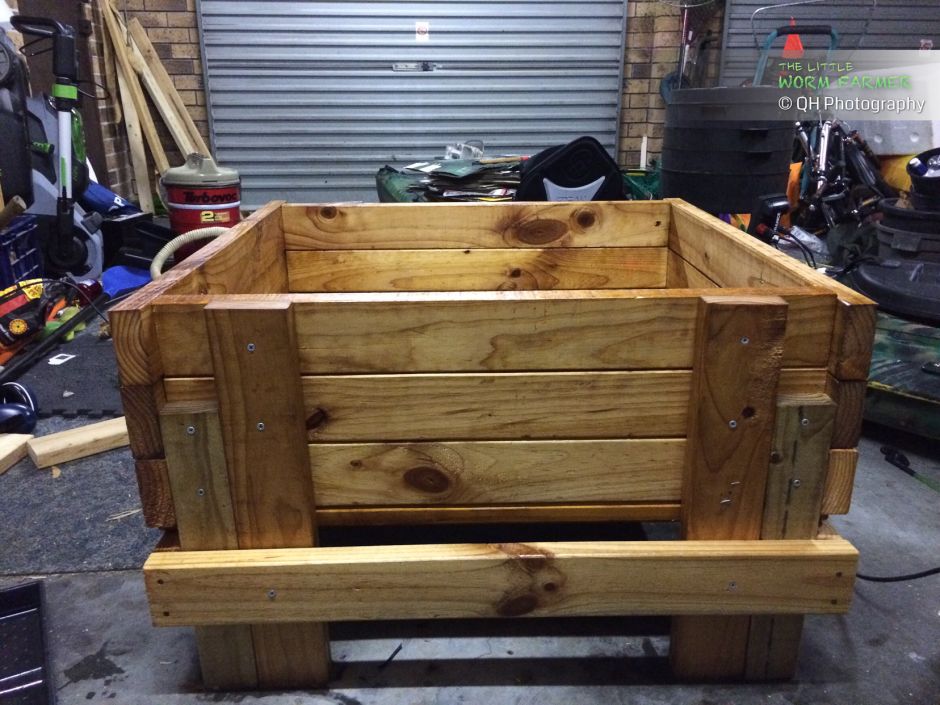
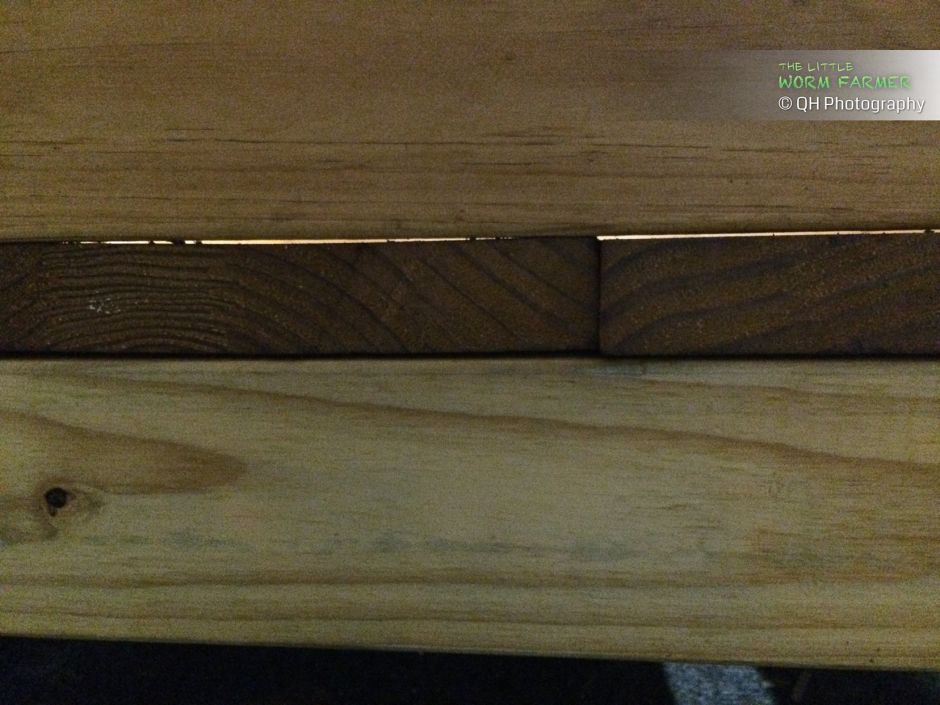
So the fix was to just cut four more legs with the proper length, it has the advantage to offer more support to the walls. Among the mistakes was me not cutting straight and thus creating some gaps at the corners, but that was more due to my old drop saw which is not easy to adjust, but hey, it only cost me AUD 15.00 so I'm not complaining.

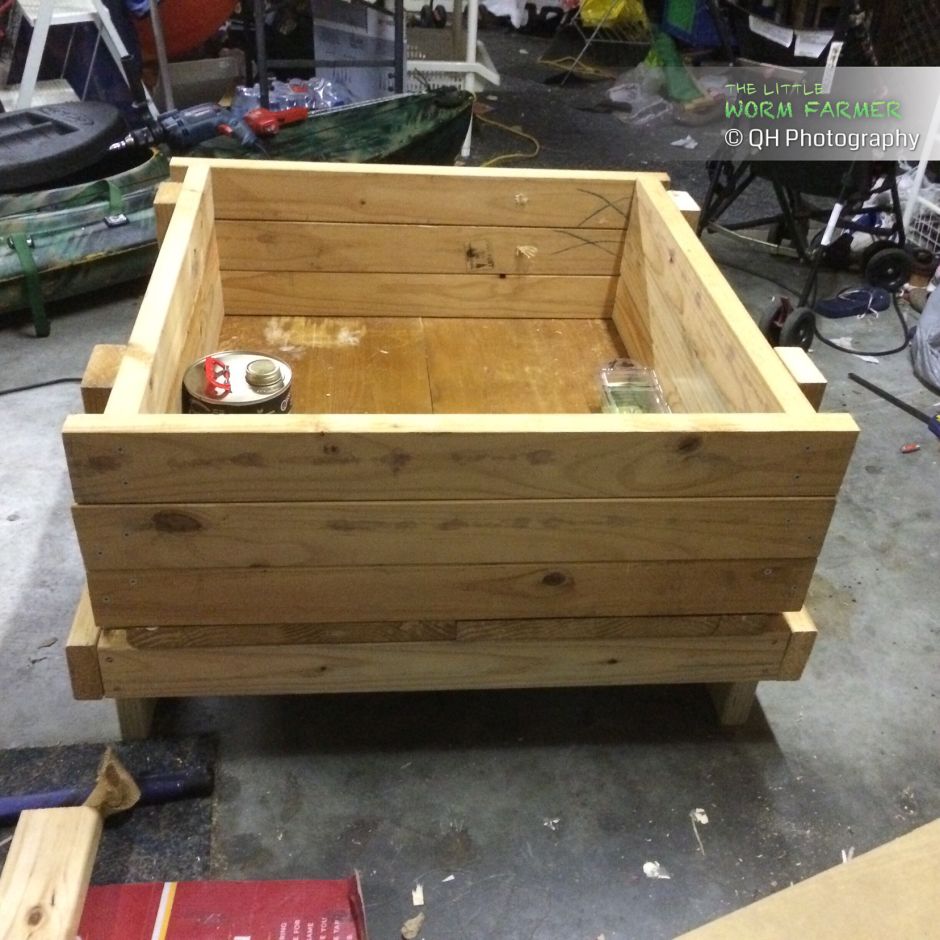
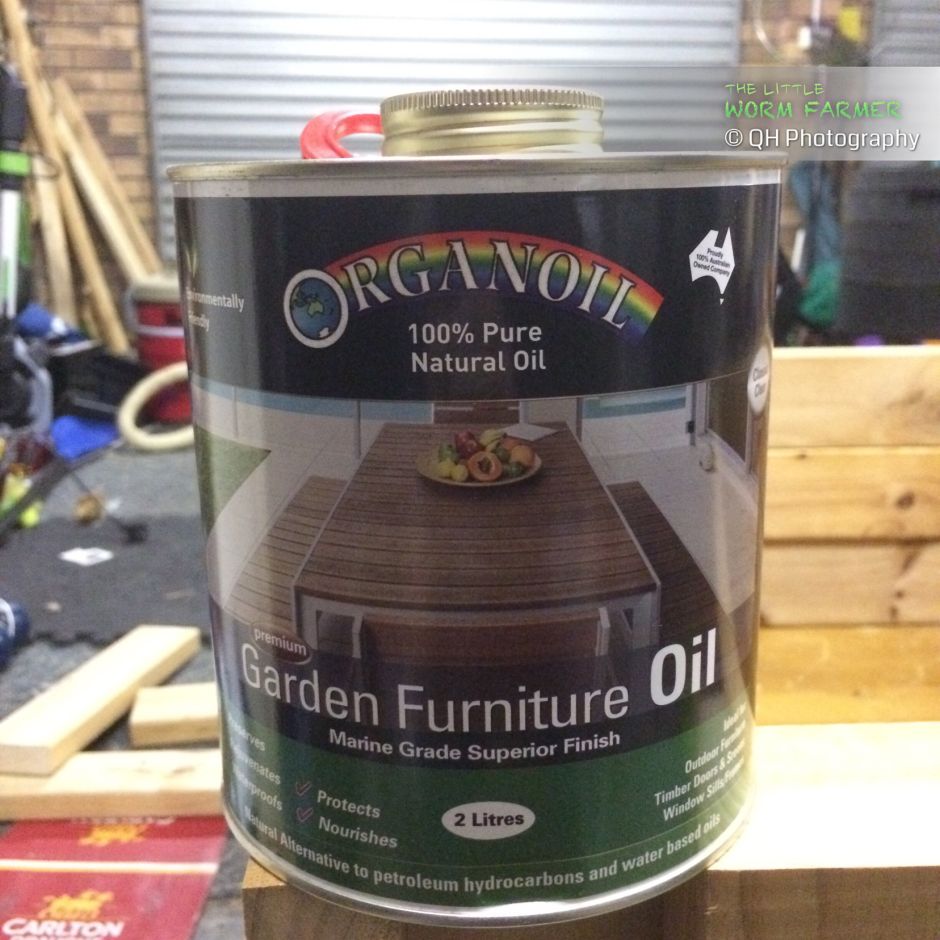
After few days, I only spent a bit over one hour each days, the bin is completed. I could have used it as is but I wanted to increase its longevity so I decided to apply two coats of wood sealing oil. After months of reading about various natural oil, I was still undecided when went picking the can at the hardware store. I was going for Danish oil as it is mostly tung oil, linseed oil and citrus oil which should leave the wood breathing but then I decided to use the garden furniture oil. It will not be breathable due to the use of beeswax but that is OK. I chose it because I will use the remaining for another smaller CFT. Also this bin having a large surface area, not very deep and having gaps between boards it should not have ventilation issue. For this project, I used a paint pad instead of a brush and it was a time saver and also allows rubbing the oil into the wood.
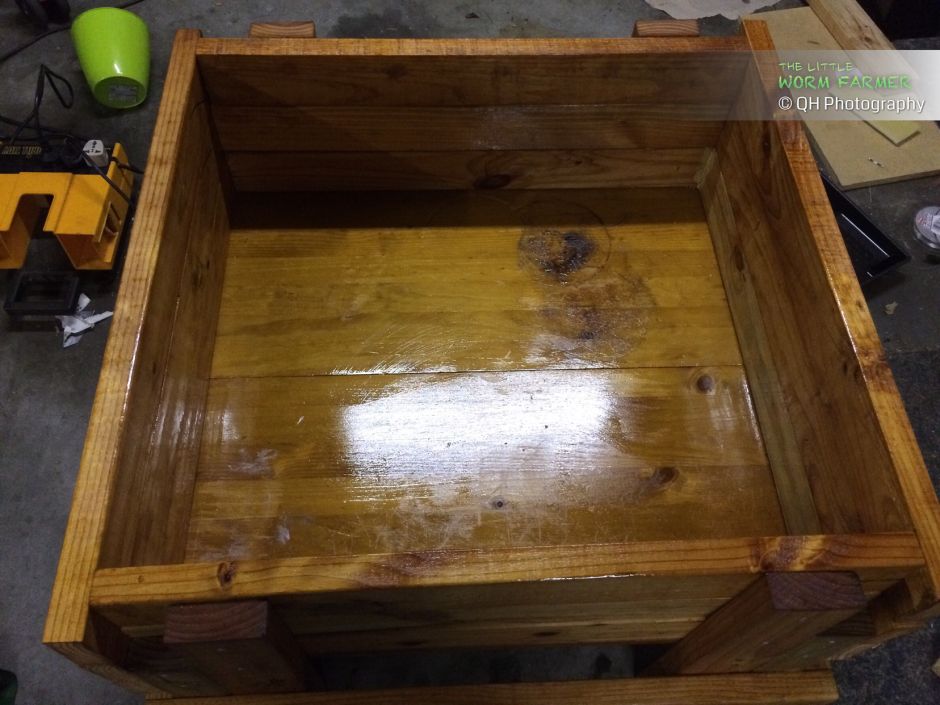
The oil was penetrating the wood very quickly and gave a slight golden tone to the wood which I kind of like. However the smell of the oil (probably the smell of Tung oil) is very strong. It smells like very strong Vicks balm. And it didn't go away for several days until it was cured, which took quite a while as a week of rain storm was settling upon my the Central Coast (NSW, Australia).

After the first coat, I had disassambled the bin in order to add the second coat and seal all sides of the wooden boards. The bottom also received a single coat. I added a generous amount of oil to the inside of the bin as it was going to be permanently in contact with the moist bedding.
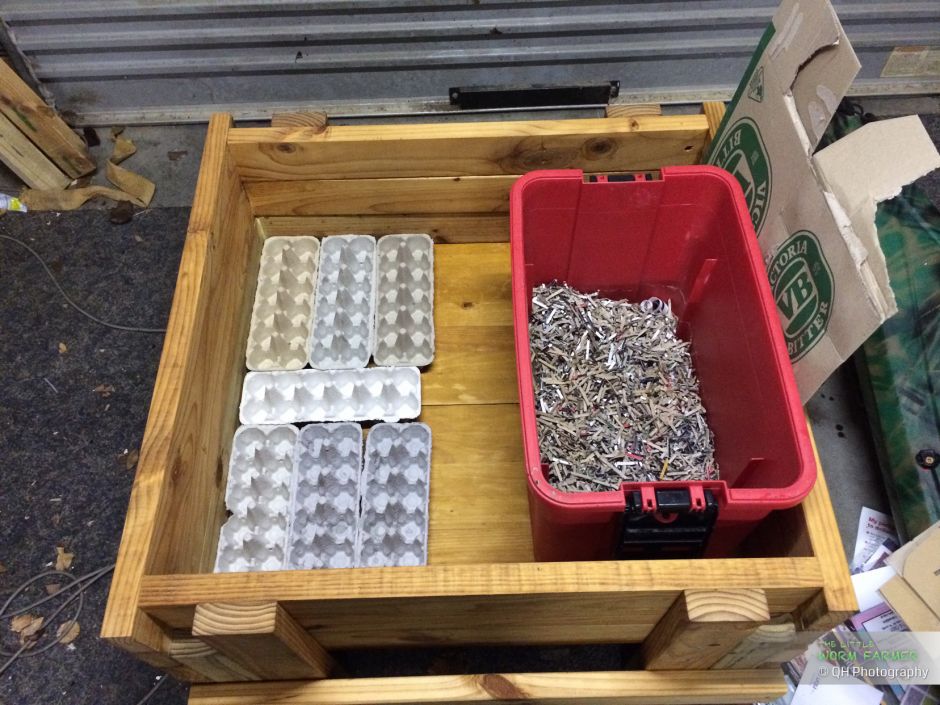
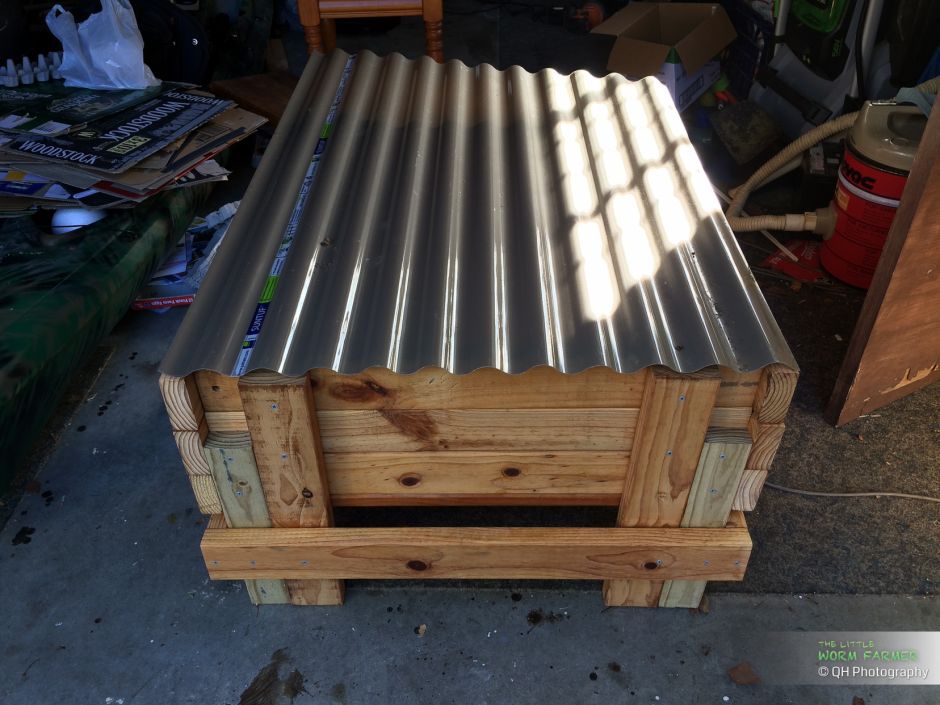
As it was going to take a week or so to cure due to the bad weather, I started thinking about the bedding I was going to use. I decided to try whole egg cartons as a base, this to create some gaps at the bottom to allow better ventilation. I also needed a sort of lid that would not affect the ventilation and will be making it with a piece of corrugated plasting roofing material.
Along all the thoughts was about how to harvest this bin. I didn't like the classic horizontal migration bin harvesting method as it is not using all the surface area from the beginning and here is something I might try: a modified horizontal migration bin harvesting method
Once the oil has fully cured, I installed Quasimodo, that's how I'm calling this bin because it was made with a lot of mistakes and is uggly compared to what I was expecting lol, in Worm City next to Gargantua and the other bins. I moved the old horizontal migration bin to its new temporary place in front of other bins and will leave alone for the vermicompost to mature.
Here is setting up process step by step: setting up Quasimodo the wooden worm bin
