My prototype BSFL bin was working all right for what I needed it for. I don't have chicken or fish to feed the pupae to so I didn't need a perfect bin for the larvae. But here were the issues I found with that prototype:
- it was too shallow and was filled uppretty quick and there would be no space for a drain filter layer.
- BSFL are able to climb vertical walls if the moisture on the walls is high enough for them to stick to it. So in the prototype bin some managed to escape to the outside. Not critical for me though.
I've been sent the link to another BSFL bin which I like even though it is definitely not the simplest design. Jerry, from blacksoldierflyblog.com has came up with different versions of the design and I came up with my own variation too.
Anti-escape system
I started with sticking a black velcro straps all around the inside top of the bin. This is to prevent larvae to crawl up and out of the bin. The velcro hooks will break surface tension and cause the larvae to fall back down.
The self-harvesting system
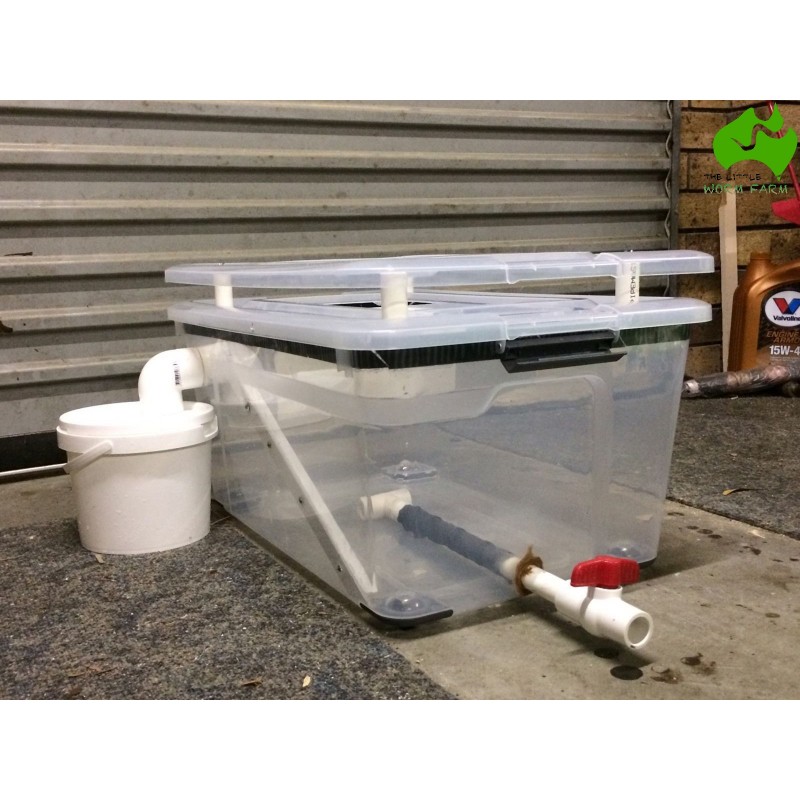
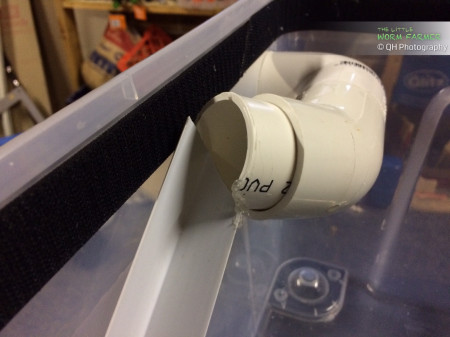
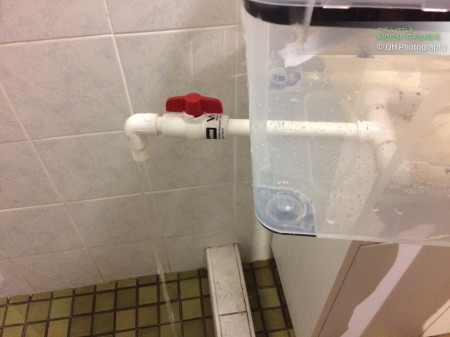
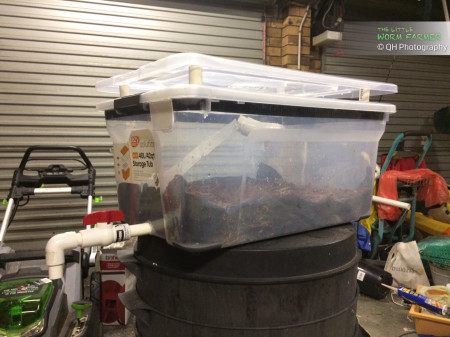
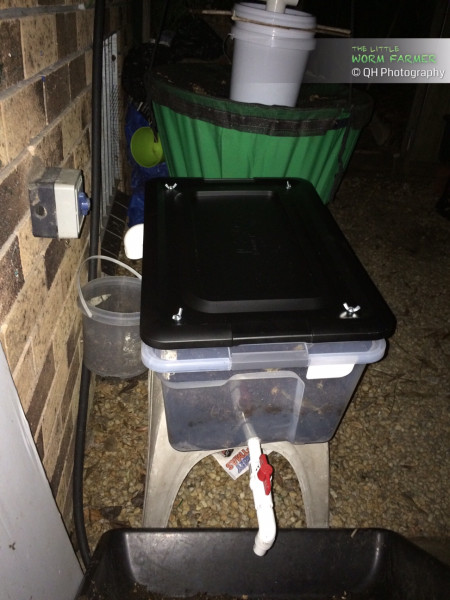
Then I drilled a 40mm hole at the top near the corner of the bin for the harvesting output pipe. The PVC pipe was cut very short so that the two 90 degrees elbow on each side would tighten it in place against the wall of the bin. I then used a section of a corner protector strips to build a ramp that is held in place by three rivets. On the inside, a short pipe is also inserted into the 90 degrees elbow, a section of the pipe is partially cut so that the ramp can go straight inside the pipe.
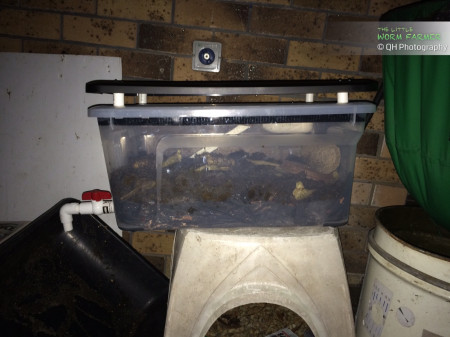
The lid
The lid is actually the combination of two lids with four spacers made of sections of PVC pipe. A 50mm (2 in) bolt goes through the two lids and the inside of the spaces and tighten by a wing nut. The bottom lid has two large sections cut off (see photo futher down in the egg trap section) to allow adult BSF females to enter the system.
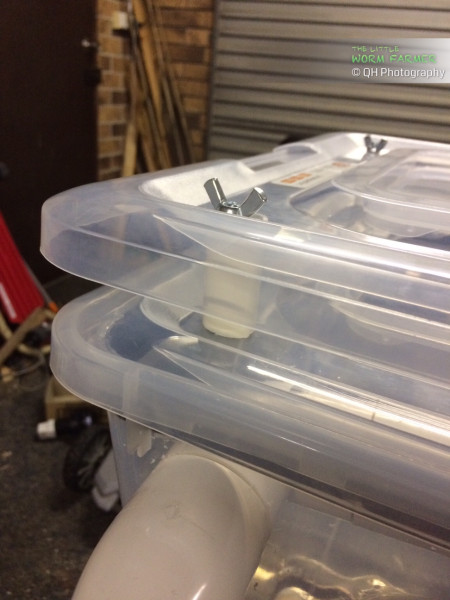
By 5 year old boy helped me with tightening the wing nuts to combine the two lids into one.
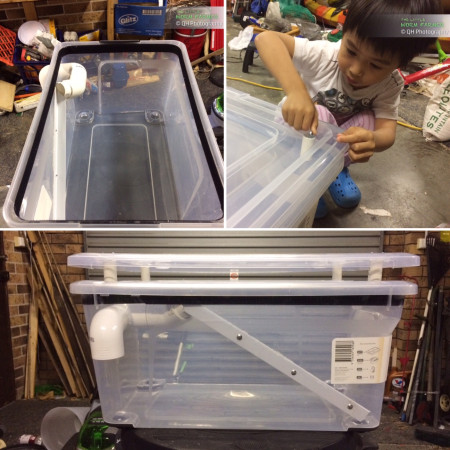
The drain system
Now it's time to make the drain. In Jerry's design, the drain is made of a large PVC pipe that goes through the wall of the bin and extends to the center of the bin and then a 90 degrees angle elbow makes the pipe goes upwards. This allows air to get into the bedding when there is no excess moisture. The follow photo is courtesy blacksoldierflyblog.com
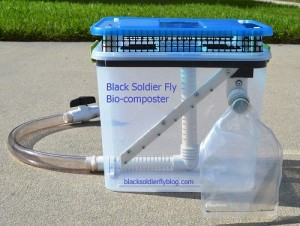
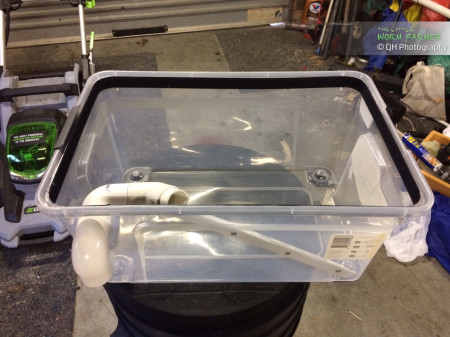
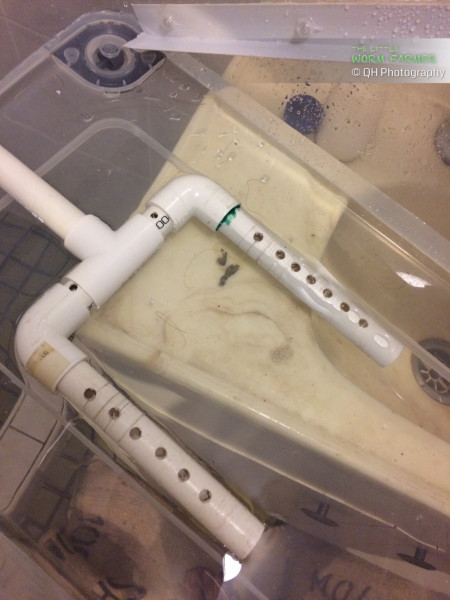
However, I feel like if food particles enters the pipe then there is no point unless you wrap the pipe with some geofabric. So I decided to skip that bit. I used a 15mm (3/4 in) pipe instead which then forks out into two. There would be holes drilled along the length both at the top and bottom of the pipes to allow drainage.
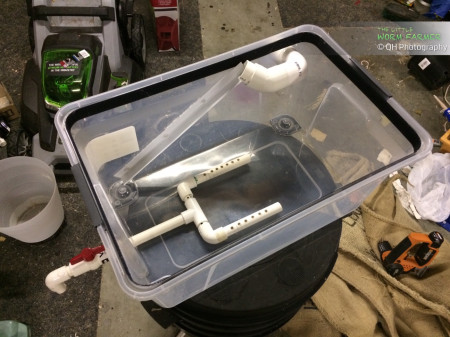
On the outside, a PVC valve is installed so I can choose to close the drain if I want to flood the bin. But in daily use my choice is to leave the valve opened so excess moisture escape and let in oxygen into the bedding. A little test shows that the drain system works, albeit a bit slow.
The drain filter
The pipe system is then covered with geotextile to minimise organic particle to clog up the drilled holes. Then I used Zeolite rock dust (instead of sand or gravel) to press the geotextile sheet against the pipe. Zeolite is an amazing rock dust I used for the worm bins, it not only help with pH, trace mineral and odour control but it also traps moisture and nutrient for slow release later on in the garden. So my idea is to experiment charging the Zeolite with BSFL effluent and see if it can be used as a growing medium.
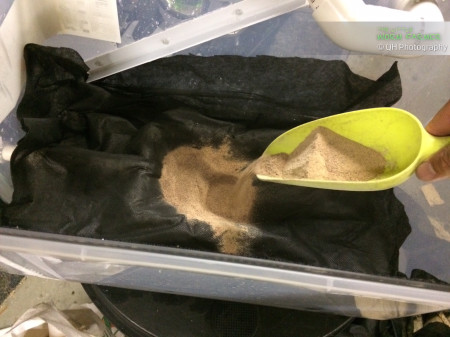
The Zeolite is then covered with coco coir chips for more separation of the food scraps away from the bottom.
The whole filter section takes quite a bit of space but I still have plenty available for the food scraps.
Painting the top of the lid
I dismantled the lids and painted the top one in black to reduce the amount of light coming in as BSFL are photophobics.
The egg trap
While the paint is drying I started making an egg trap. BSFL don't mate between themselves, they become adult flies who mate and oviposit more eggs. So I need a place for the flies to deposit their eggs, hence the egg traps. You can check my previous post for instructions on how to build an BSFL egg trap.
Once my egg trap built, I stick a piece of Velcro (hooks) on the bottom of the lid on the uncut section of the bottom between the two openings. I then cut another piece of Velcro (loops) and just bend it and wrap it around one layer of the egg trap cardboard.

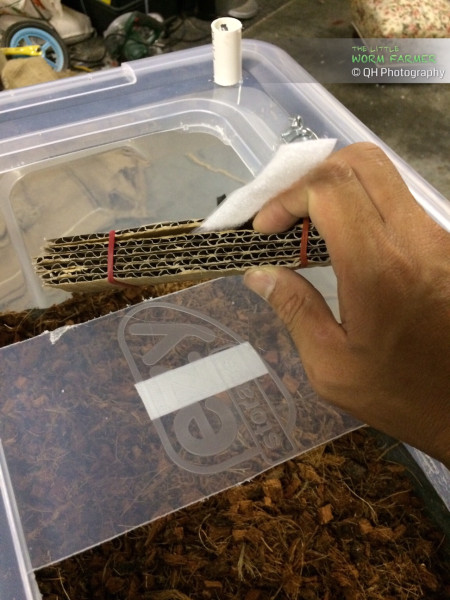
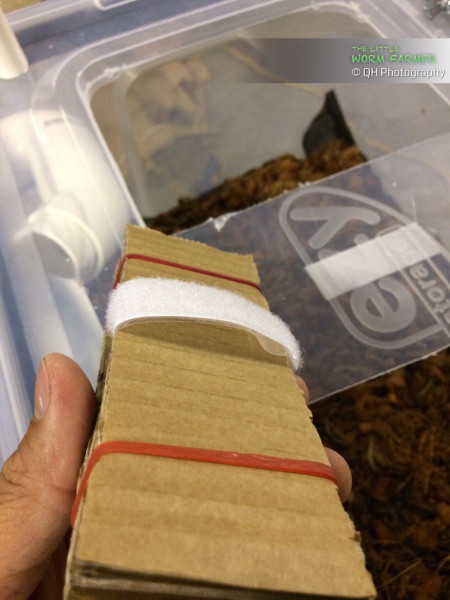
The egg trap is then put in place and can be removed easily thanks to the Velcro.
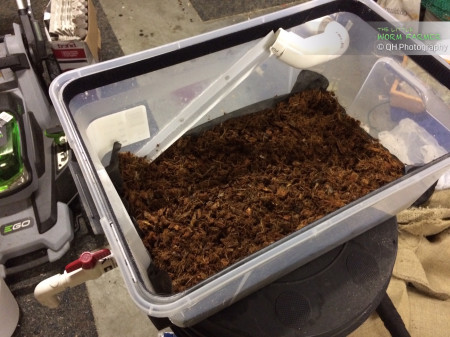
Transfering the bin content
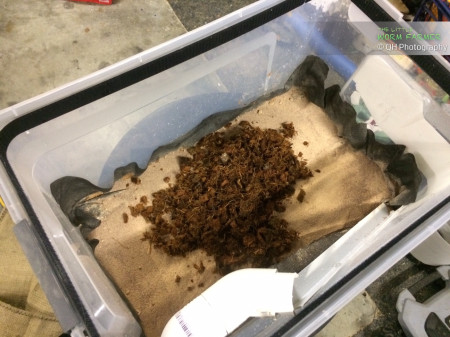
Ready to go, I started to transfer the content of the prototype bin into this new one. That was really nasty lol. Lucky it did not smell that bad.
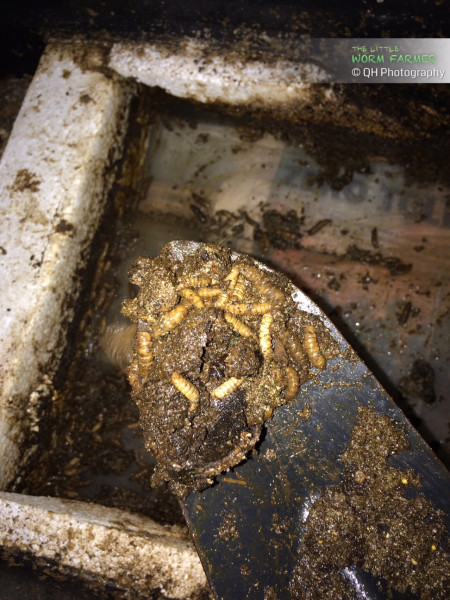
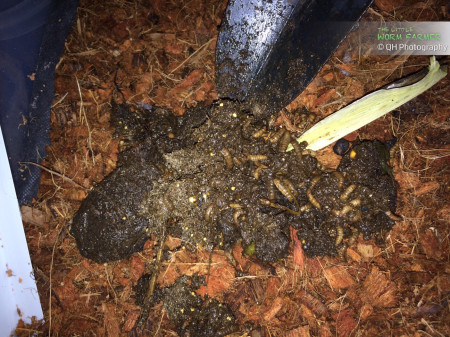
This content transfer was an opportunity for me to roughly assess the population of larvae and I was impressed. I started with BSFL less than a month ago and now I could see a lot of larvae almost anywhere I was digging into, there was a nice density of larvae. That is not surprising when you know each cluster has in average 500 to 600 eggs, I must have about 5000 larvae in this bin now as I counted 10 clusters since day one.
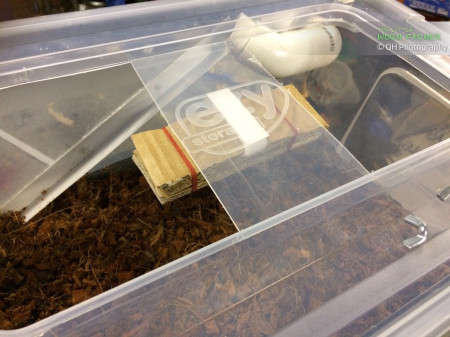
The trap from the prototype bin still containing unhatched eggs, I just installed it on the surface of the food scraps with a piece of metal plate to isolate it from the wet food.
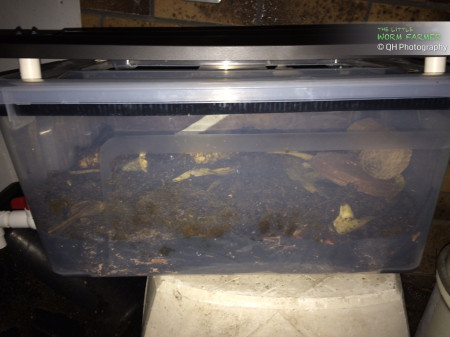
A small bucket is placed under the harvest pipe and half filled with vermicompost that self-harvested from my CFT. This should be a nice dry place for the pupae to bury themselves in giving them time to become flies.
I'm not sure yet how I will harvest the BSFL frass and feed it to the worms. Either I keep feeding until the end of the season and it is too cold to breed the larvae and then dump share the content between the worm bins; or I can use horizontal migration by feeding one side of the bin to attract the larvae while harvesting the frass from the other side.
I will soon post a video of a tour of this BSFL bin, stay tuned.
Next in this BSFL composting adventure is to let this new bin settle a bit and start doing more food composting tests.
Related content:
- The homemade Biopod video tour
- My first BSFL post, getting help from the BSFL with early test videos.
Posted
in
A day in a worm farm, Black Soldier Fly Larvae on Jan 18, 2017
by Quoc-Huy Nguyen Dinh