Tonight I needed to start a Can-O-Worms for a customer so I took the opportunity to record the steps with some photographs.
This is a 2-tier model (one leachate collection and two active trays) and I will be preparing one of the two trays which will be the current feeding tray. The second one can be either removed and added later on when the first is full. Or you can leave it below the feeding tray and it will be an intermediate level for the worms to fall in before reaching the leachate tray. Another option is to fill it with moist bedding material, this will create an neutral area for the worms to retreat to if something goes wrong in the top feeding tray (heat, acidity etc...).
The important things to keep in mind when setting up a new worm bin are:
- the amount and type of initial bedding material
- the level of moisture
- good airflow
- adding some pH buffer
- the micro-organisms
Bedding material
You need at about 6 to 10 inches of bedding material. I usually add about half the depth of the tray or more knowing that this layer will quickly drop down in level as the bedding breaks down and compacts. My choice of bedding material for the initial layer is corrugated cardboard because of its internal structure (the flutes) it allows an excellent air flow, cardboard retains moisture very well and the glue used is corn based and is good food source for the worms.
The level of moisture
As you add the bedding material you need to moist it down. Some people pre-soak the material and then squeeze the excess moisture out until only couple of drops of water comes out. I just add half an inch thick layer then spray it down while fluffing it and repeat until I reach the desired depth.
Good air flow
Often neglected airflow is a very important point. Compost worms and other composting organisms are aerobic being and require oxygen to survive. When buying a commercial worm bin such as the Can-O-Worms you don't have many choice but trust the manufacturer when it comes to ventilation, however you can improve the system by taking care of often adding bulky bedding material that creates air pockets, corrugated cardboard is excellent for this and it's free from the local bottle shop.
pH buffer
Food scraps will break down and excess will start fermenting and heating up. Too much acidity and heat is bad for the worms so adding a pH buffer is highly recommended. Powdered eggshells or garden lime / dolomite are perfect and free/cheap.
The micro-organisms
Compost worms feed mainly on bacteria, protozoa and other micro-organisms so a fresh new bedding will not be appetising to them. In order to keep them happy and prevent some escaping attempts it is a good idea to inoculate the bin with some bacteria:
- add a small amount of food for few days prior to adding the worms
- adding well aged grass clippings
- adding finished compost/vermicompost
- adding a handful of soil (be careful of commercial soil as they may contain chemical fertiliser which will kill the organisms)
Here is how I setup the Can-O-Worm today.
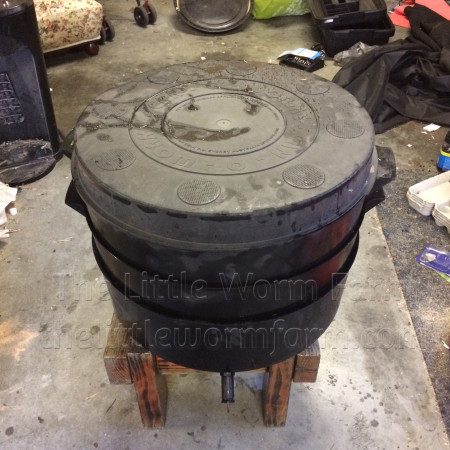
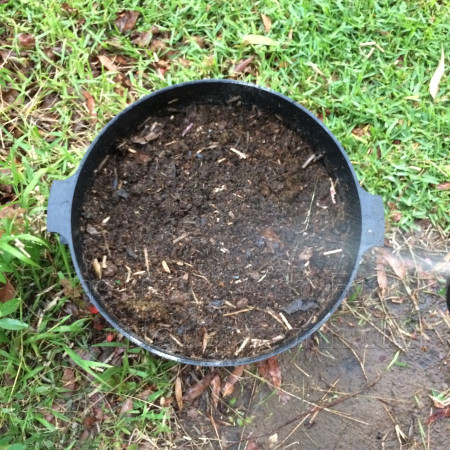
The Can-O-Worms with out its legs is actually more stable, you can use a stool or some bricks to elevate it
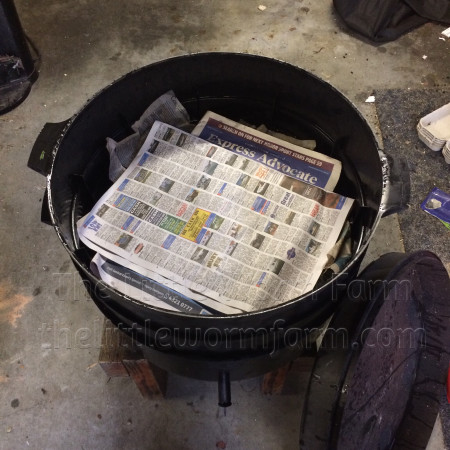
Few layers of newspaper at the bottom will help retaining some types of bedding material (coir, peat etc...) here it is for slowing some worms that might want to explore the bottom trays
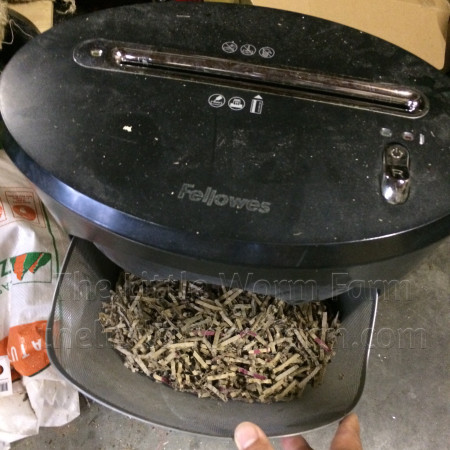
Shredding corrugated cardboard with a 11-sheet paper shredder
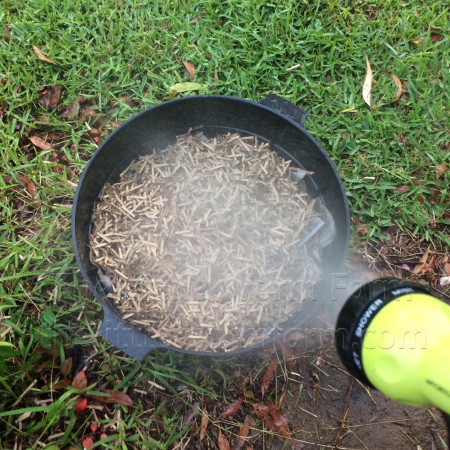
Using a garden hose using the "mist" setting I'm spraying down the bedding layer by layer and fluff it with my other hand to insure every bit is receiving water droplets
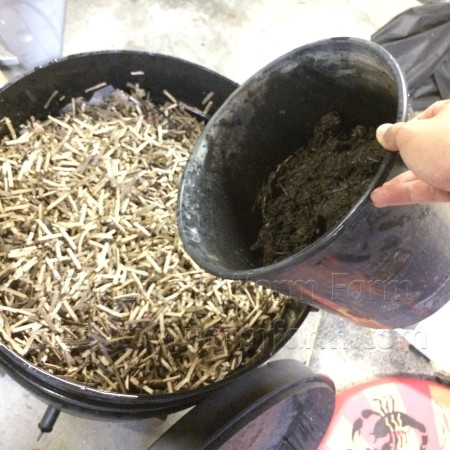
Once the bedding is well moisten I pickup the bucket of worms I have collected from my breeding trays and various bins. I harvest them from different bins for genetic diversity as currently each of my trays have worms from various sources. This is probably not needed, but I can do it so why not :-)
Welcome to your new home!
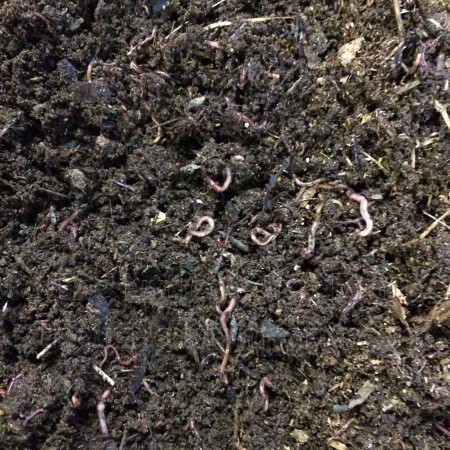
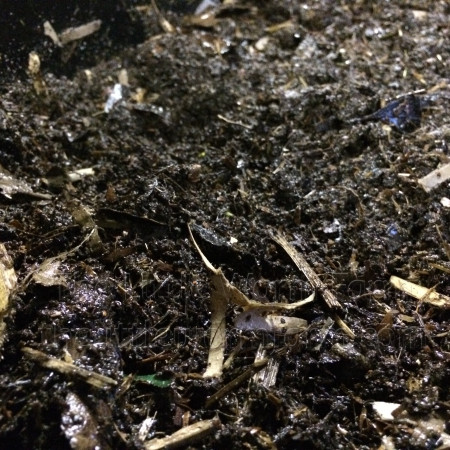
The worms were harvested along with their original bedding and castings which is full of cocoons and juvenile worms. They will help populate this new bin
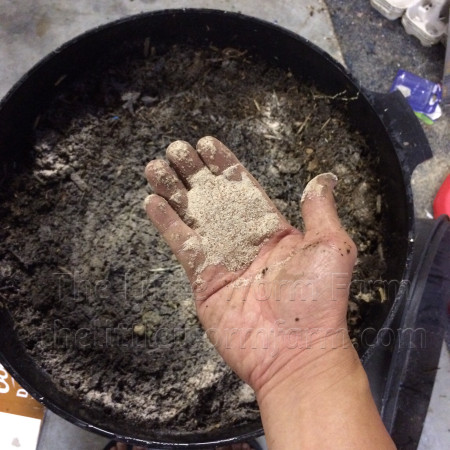
I now add a good handful of pH buffer, here is my own mix of worm farm conditioner I call Worm'ditioner. It is made of a balanced level of Calcium Carbonate and Zeolite rock dust. This not only control the pH level but also add trace elements, retain moisture and control odours.
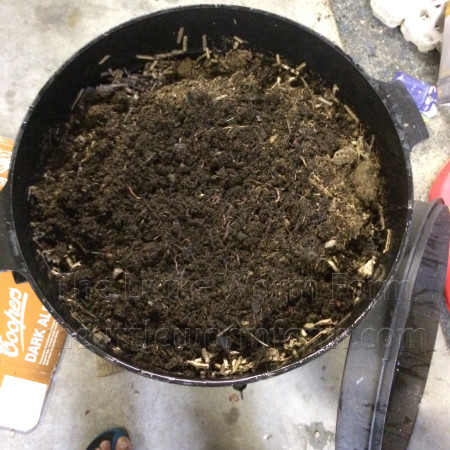
I fluff the conditioner into the bedding
I then mist the surface one more time
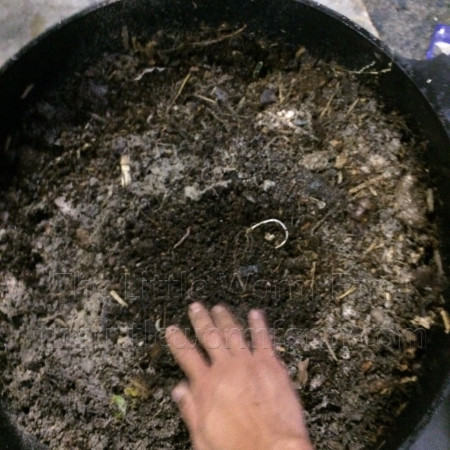
The bedding is now nice and moist but not wet to the touch
Now it is time to add the first weekly amount of food. I start by digging into the bedding until I can see the bottom cardboard
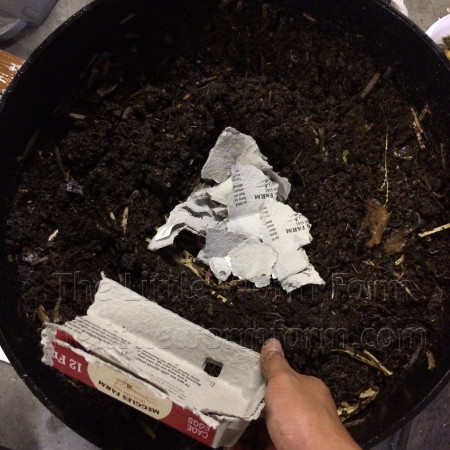
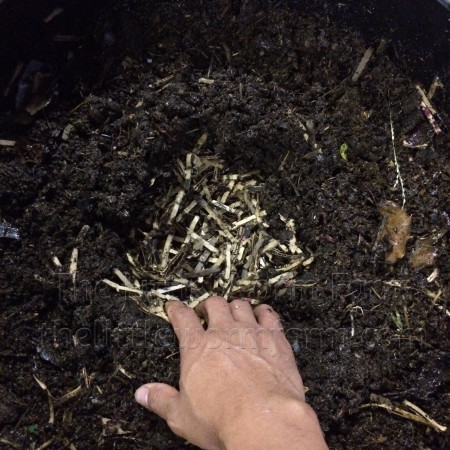
I then add some dry pieces of eggbox cardboard, they are excellent at absorbing moisture and break down well too
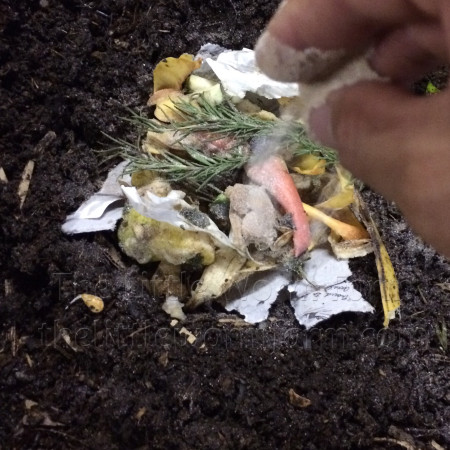
Once the little amount of food is added, I sprinkle couple of pinches of Worm'ditoner. Remember pH buffer stays in the bedding and wait for an accident to happen (increase in acidity) to react with the hydrogen ions in order to neutralise the bedding back to a safe level
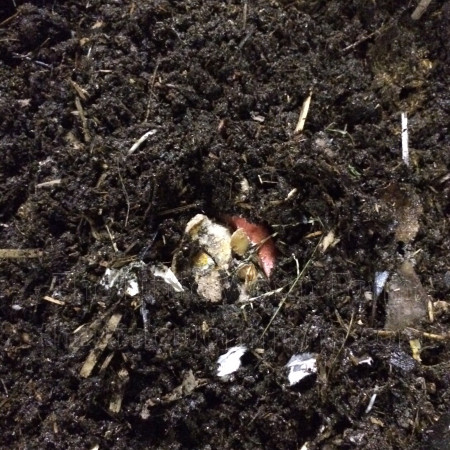
I now cover the food scraps with the bedding material I dug out earlier, this will inoculate the scraps with beneficial bacteria and also restrict access to the food scraps to critters such as flies
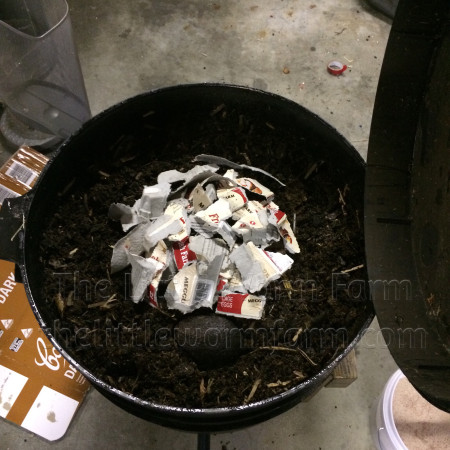
Last step is to cover the whole thing with more fresh and dry bedding material, in this case some more egg box cardboard
I will monitor the moisture of the bin on a daily basis the first couple of days and see if the worms are happy to be collected by the client this weekend.
If you have any questions about this process or any related worm related subject don't hesitate to ask me in the comments below or by any other means from the contact link in the navigation menu above.
Posted
in
A day in a worm farm on Dec 08, 2016
by Quoc-Huy Nguyen Dinh
